Have a Seat - Part 2
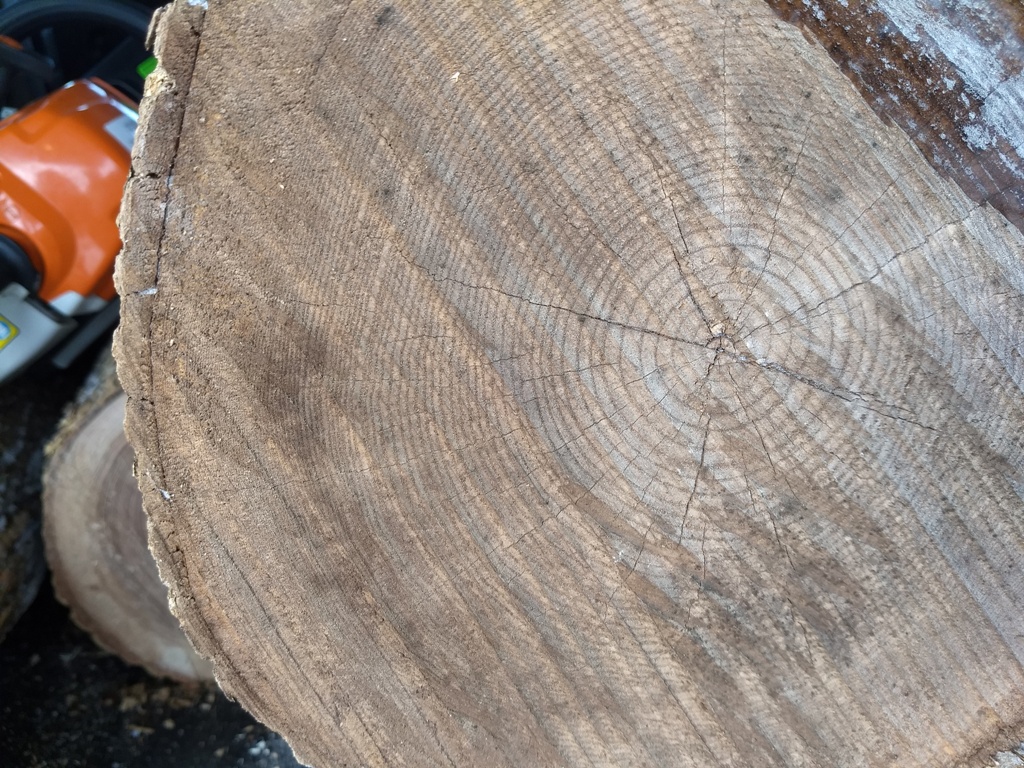
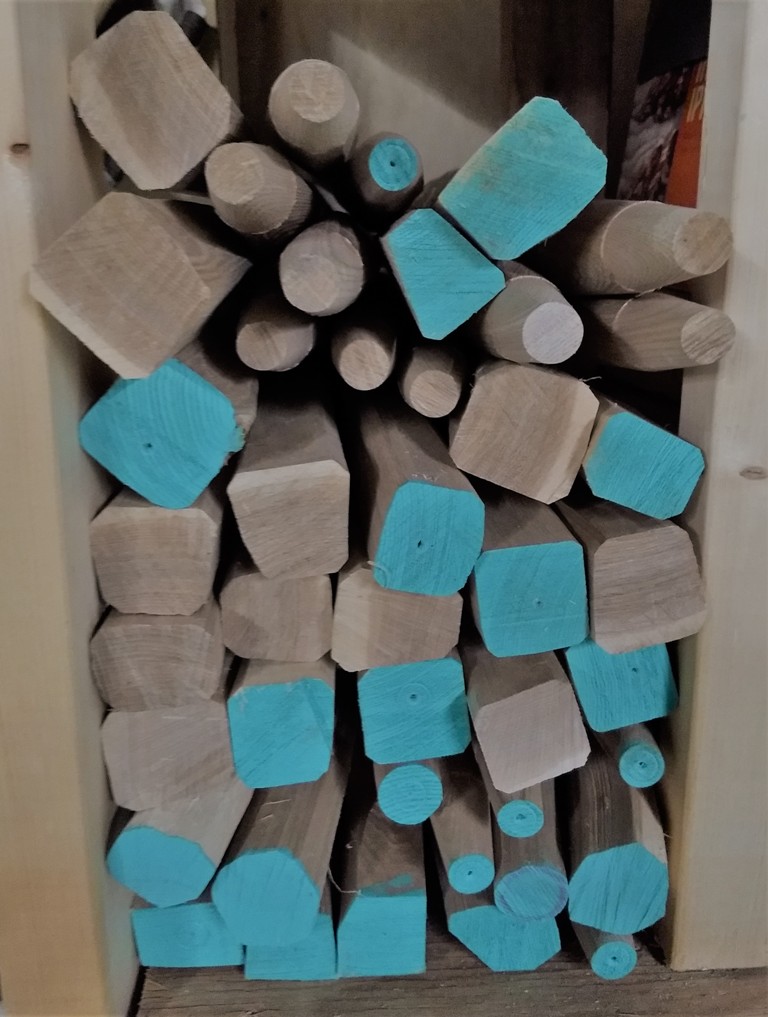
I acquired some black ash logs over the course of this past spring. During the summer months there are abundant opportunities to demonstrate craft skills around North House. I mentioned in the past post, people are amazed when they see a person splitting down a log, cleaving it into billets, and making parts with a shaving horse and draw knife. There’s a wonderful sense of amazement when a person unfamiliar with the process sees what amazing results one can get with such simple tools. That said, it’s one of my go-to demonstration projects and I built up up a nice little pile of riven black ash chair parts for future projects.
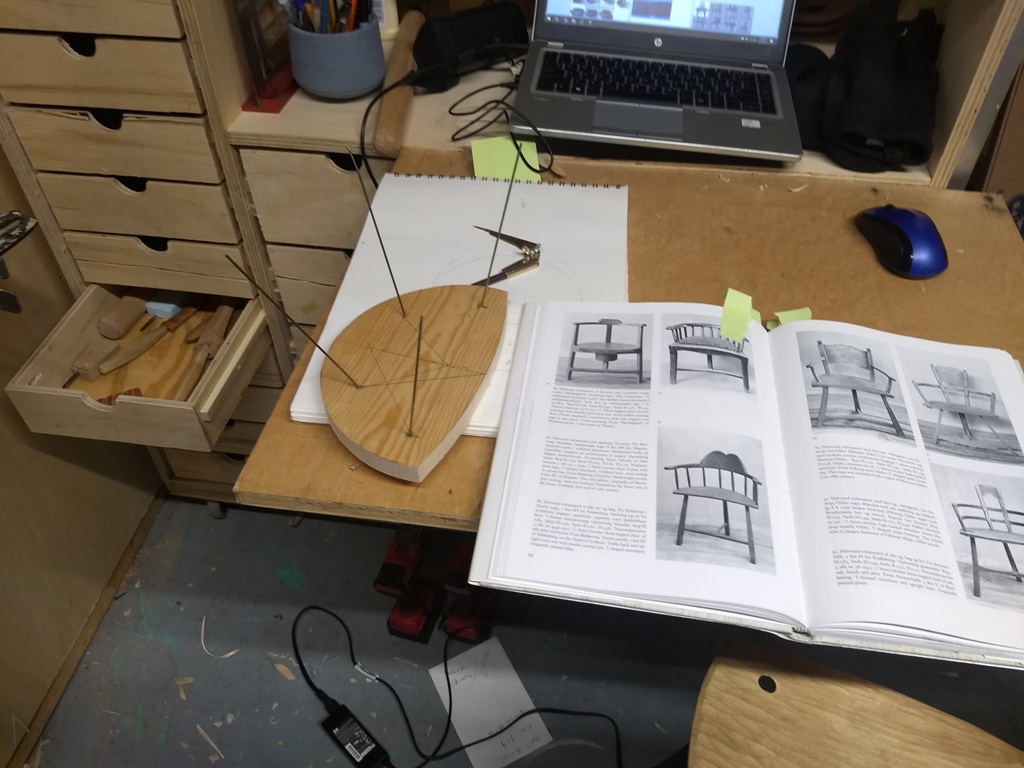
I’ve built quite a few windsor stools in the past but hadn’t had the chance to take the next leap and experiment with chairs. Though I understood the basic skills involved I wanted some reinforcement with a nice beginning project. I purchased a copy of The Anarchist Design Book by Christopher Schwarz and studied his staked chair chapter. The book encourages people to build rather than buy quality furniture by introducing a progressive series of related furniture projects. Not only is it filled with easy to understand instructions but it’s an entertaining read as well. You can get a copy for yourself at the North House school store or directly through Lost Art Press. I used his method and basic geometry to help design my chair and guide the process.
Chairs are satisfying to make and require many different skills. They’re exciting little architecture projects. A person gets to shape an attractive and form fitting seat through the reductive process of carving and build a structure of body supporting components all in the same project. Unlike cabinetry there’s no straight lines to speak of. It’s an intriguing web of connected geometry and it is easy to geek out. The more time I spend making plans and drawings for the next prototypes the more interested I become in the subject. The main catalyst for my dive into woodworking, and greenwood working specifically, was spoon carving. The draw of these objects is the subtle design challenge in each spoon. To function well a spoon needs to have certain attributes but within the confines of those attributes one can create an infinite array of variation. Chairs are similar. It’s main function is to support the human body and in order to do so there are certain parameters. Within those parameters there is ample room for creativity and those margins are where I’d like to explore as I gain more experience.
This won’t be a how to on chair making but I’ll list out the steps here and share few accompanying photographs of the process to give you a taste.
- Split and process material for legs and spindles: They need to be as dry as possible when the chair is assembled otherwise the components may shrink resulting in failed joinery.
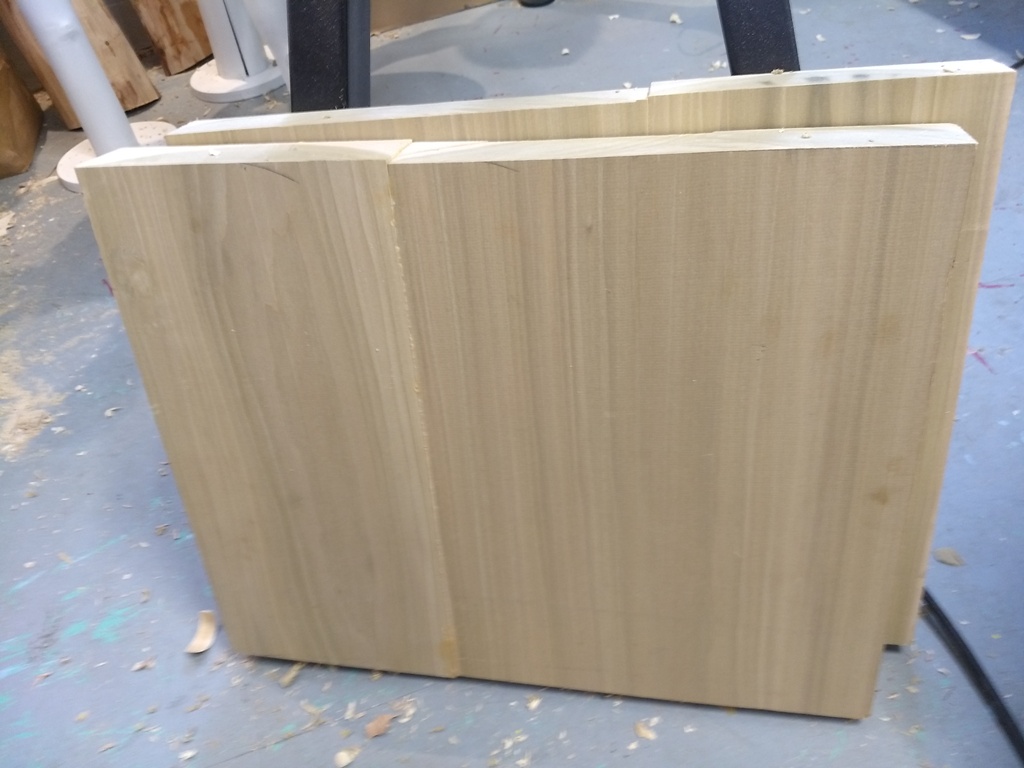
- Glue up material for seat blank.
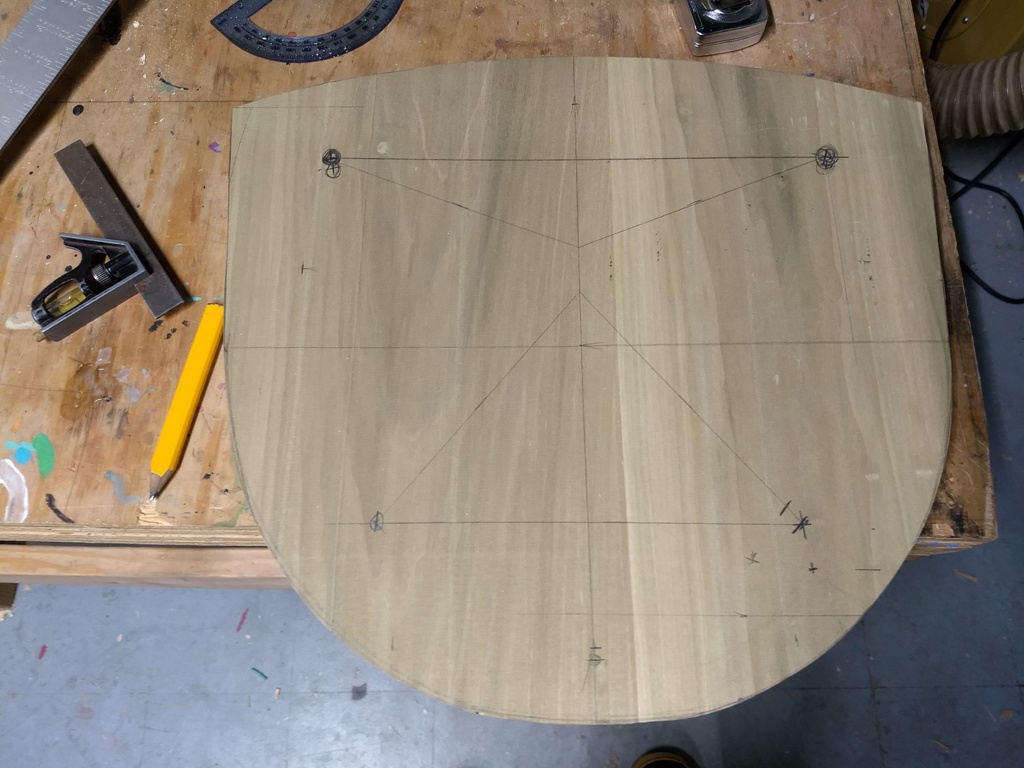
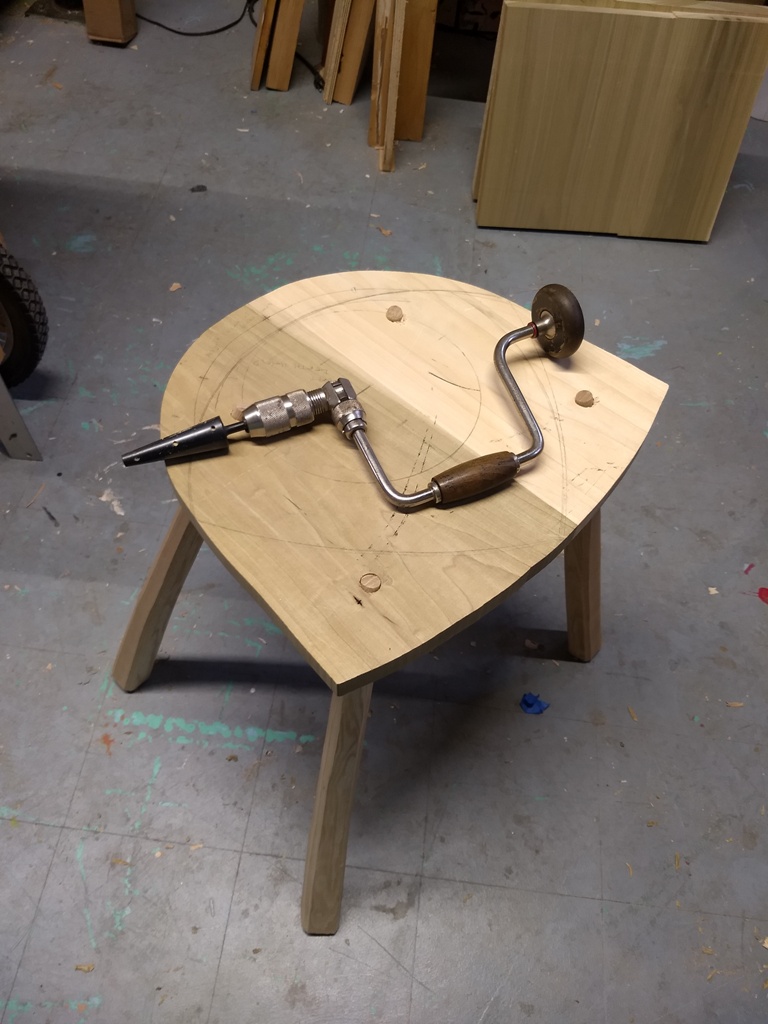
- Laying out seat profile, spindle and leg locations along with sight lines: The sight lines allow you to line up your drill bit in order to create the compound angle that determines the rake and splay.
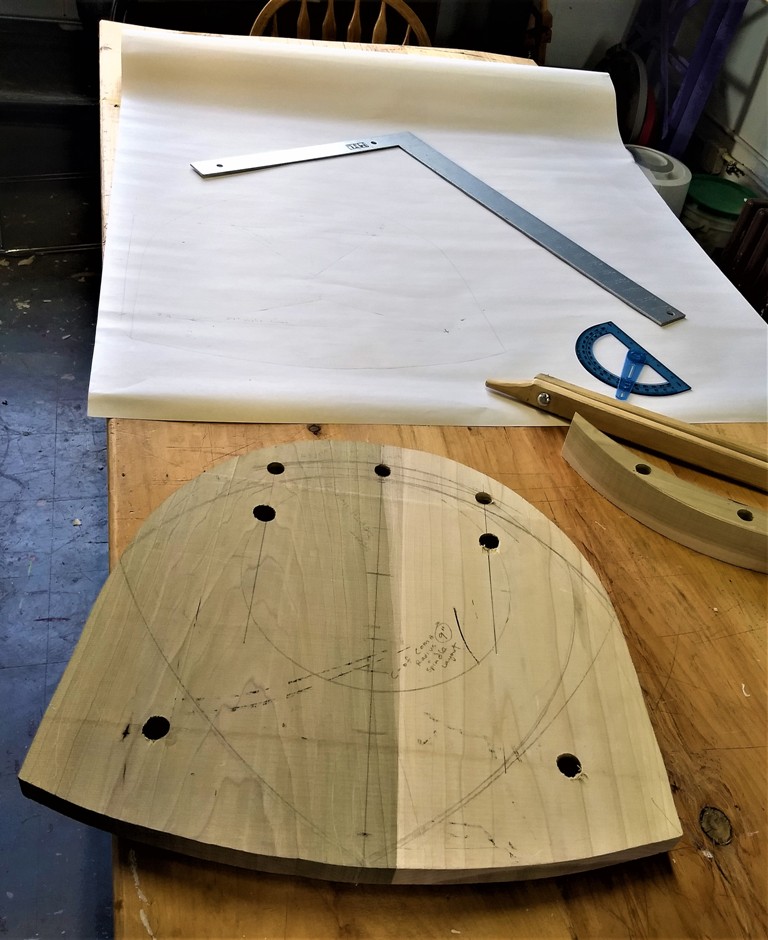
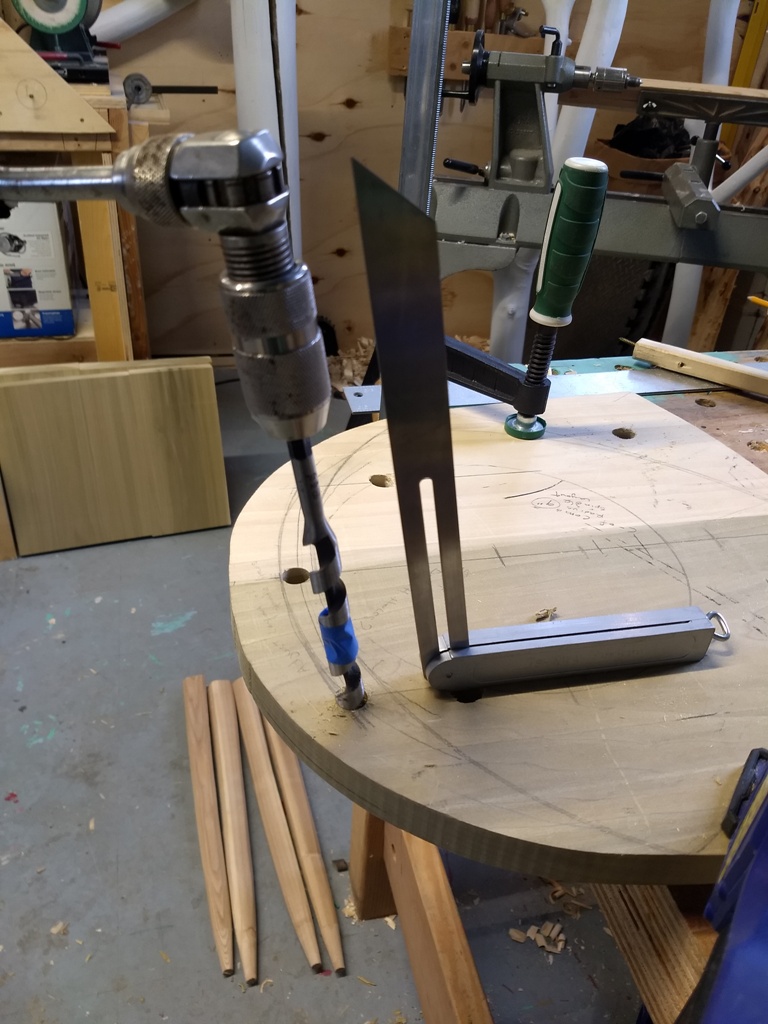
- Drilling angled mortises for the legs and spindles.
- Taper leg mortises in the seat using a reamer: The tenons of the legs are tapered and the mortises in the seat are reamerd to match which helps the joint stay tight with the continual downward force of a sitting human body.
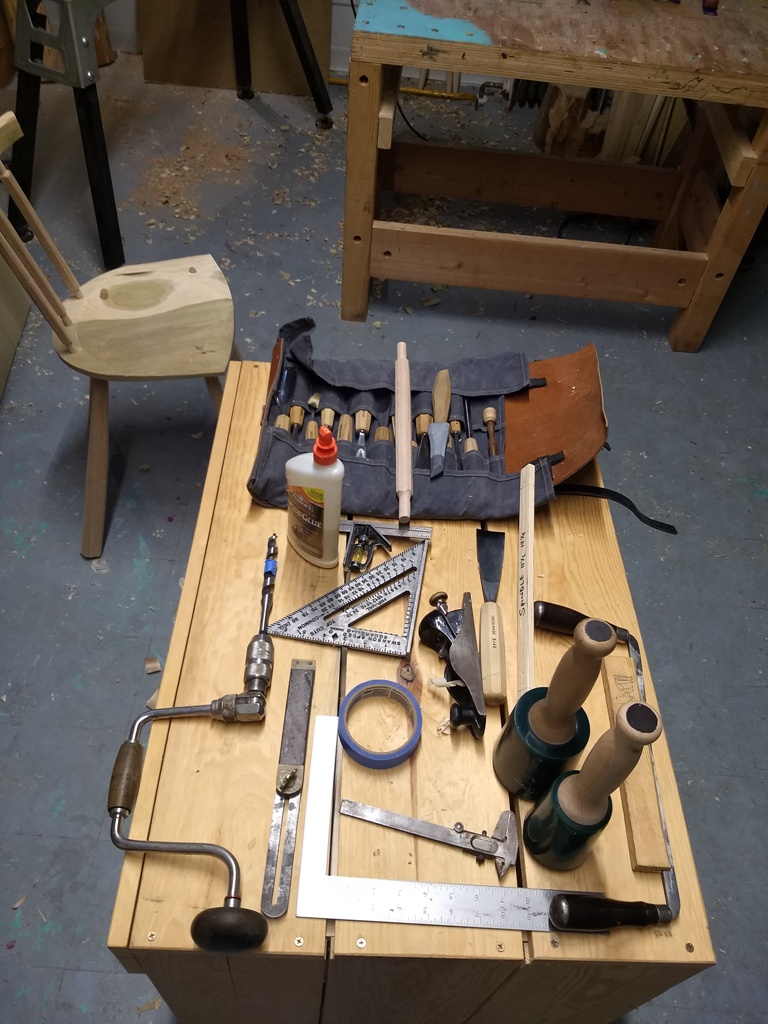
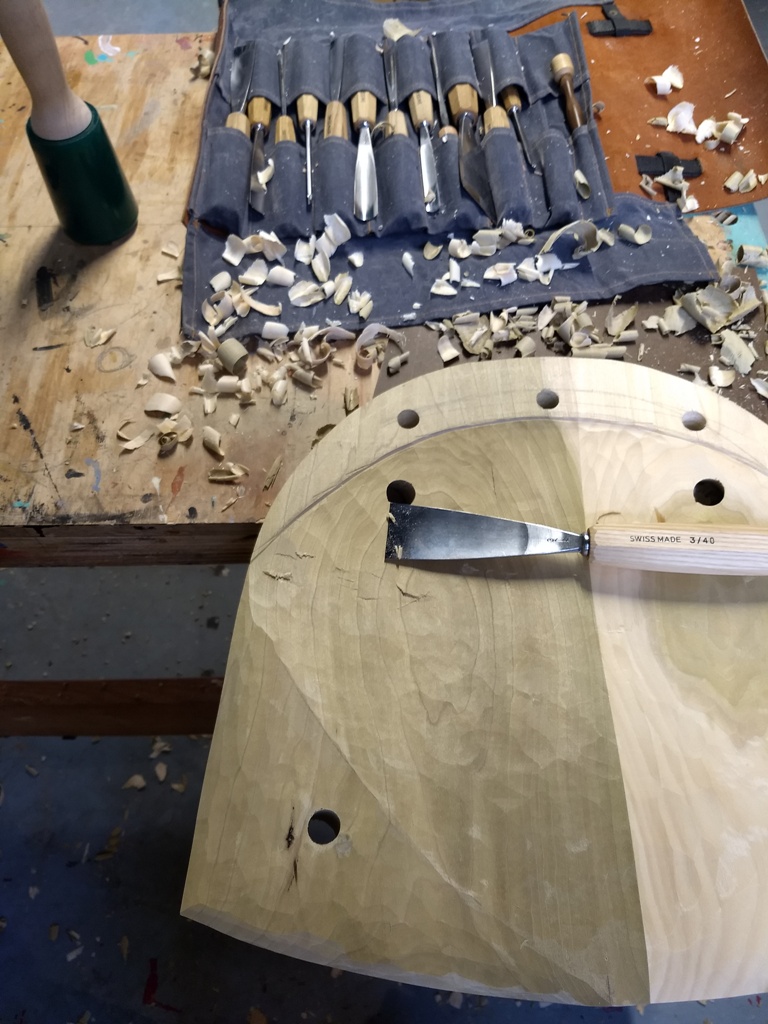
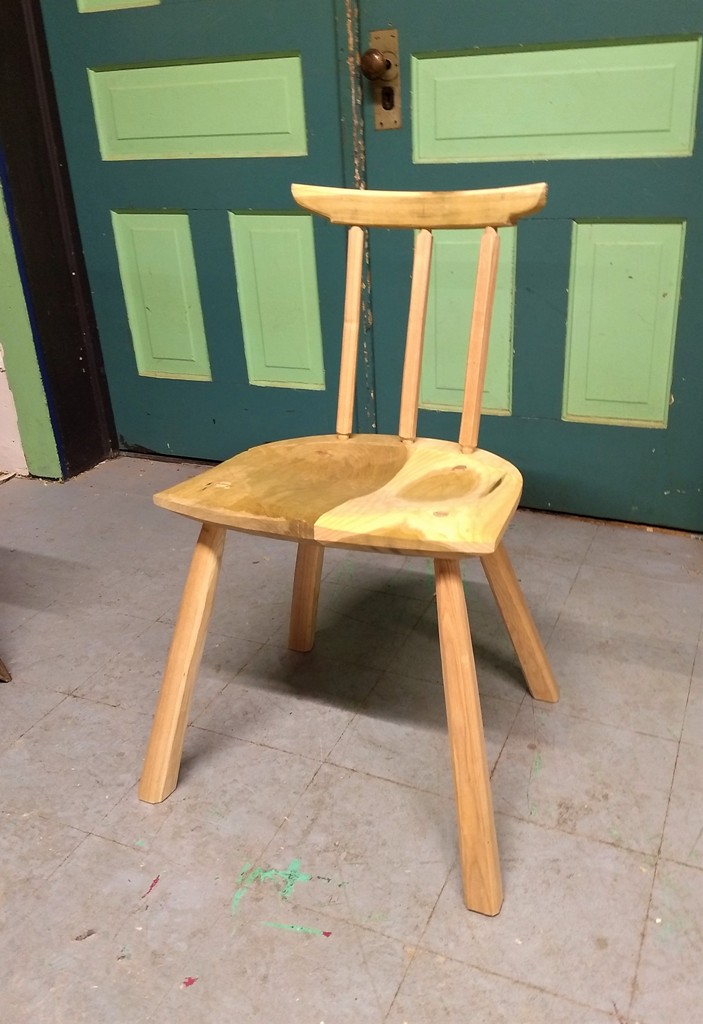
- Carve seat: This is often referred to as saddling. A seat that is shaped like a human hinder is amazingly comfortable compared to a flat plank.
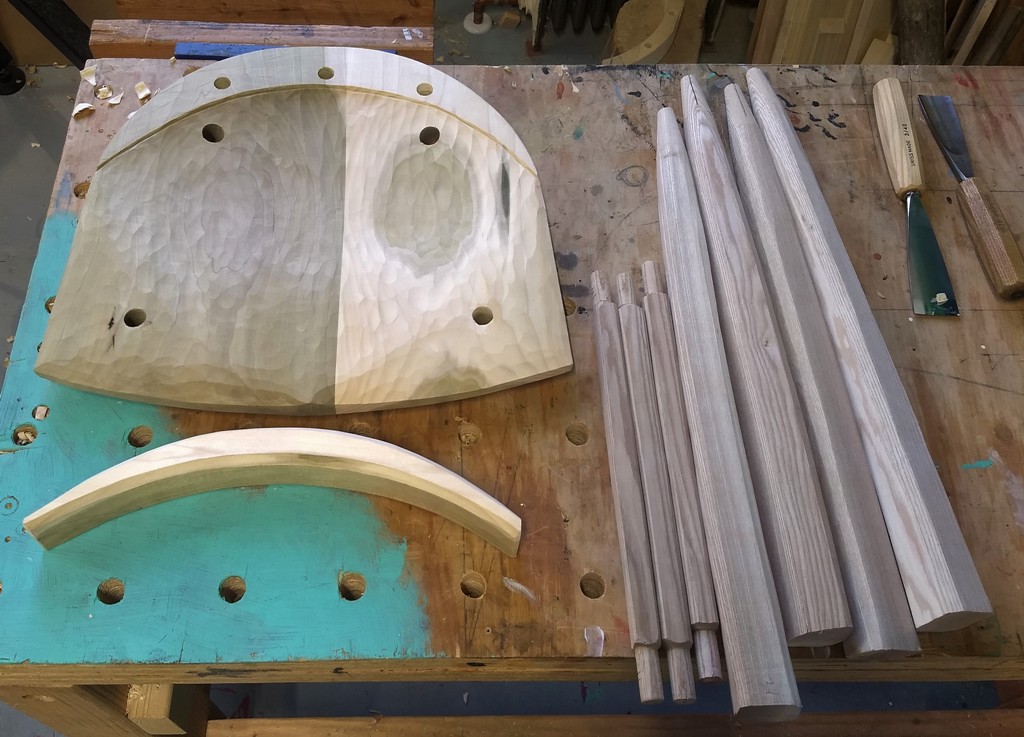
- Install undercarriage: This refers to the legs. In many cases the legs are also supported by stretchers which connect the legs to each other horizontally holding the legs in place. It’s great bonus support but not always necessary.

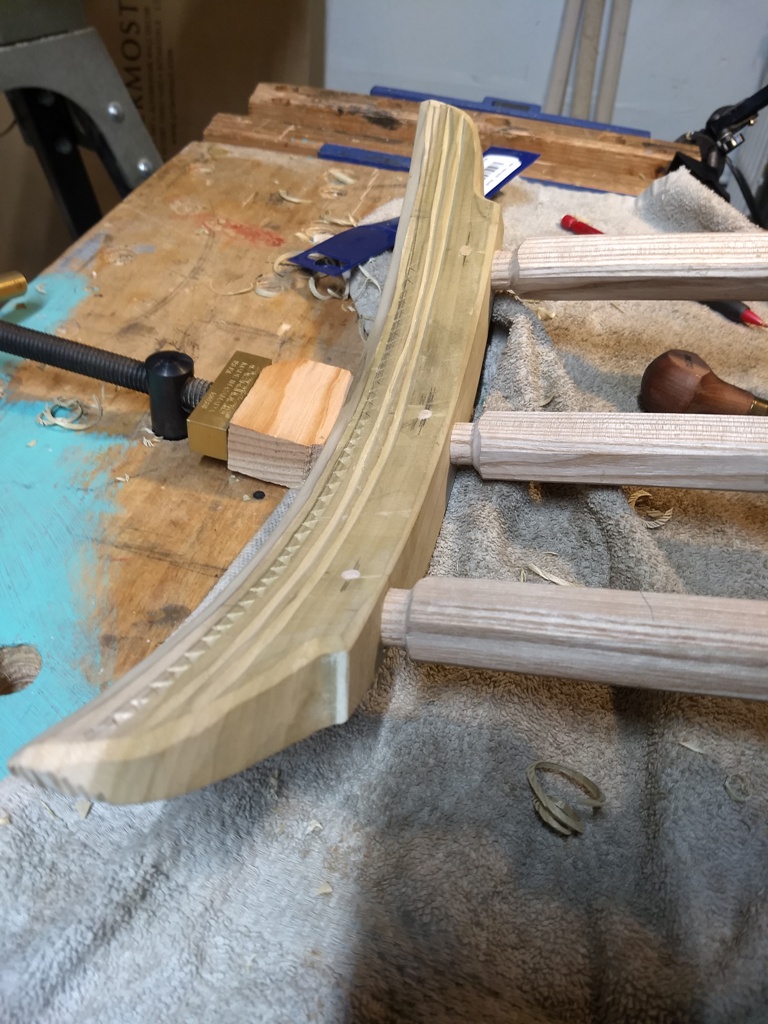
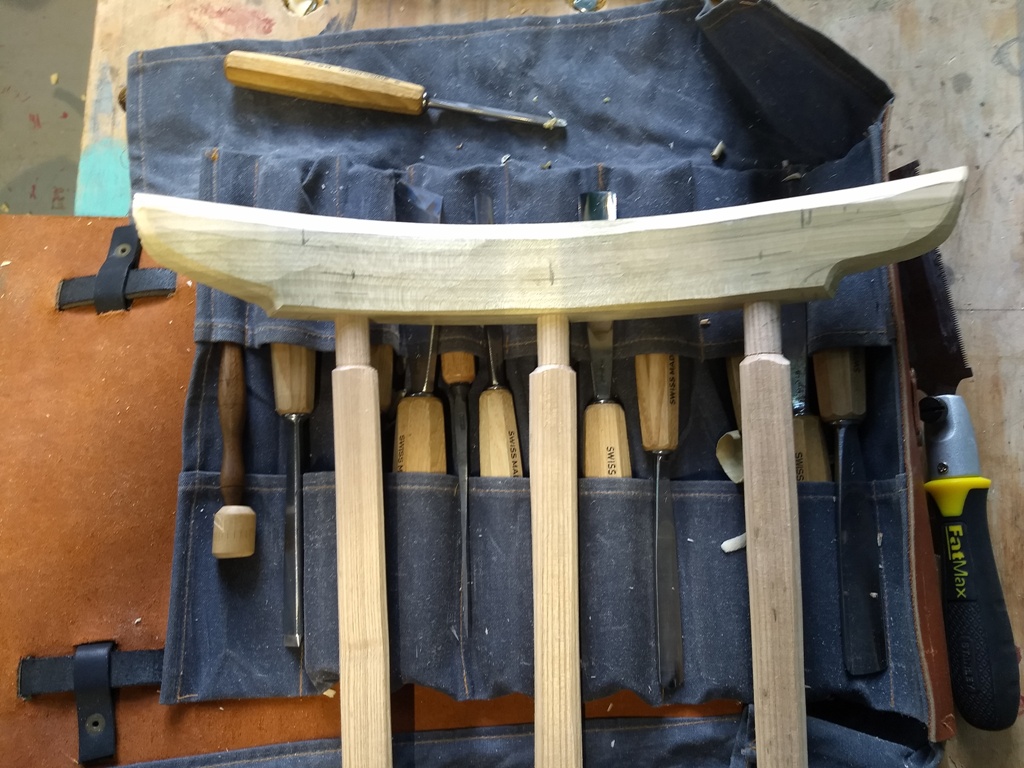
- Cut out and shape comb, drill mortises: The comb is the support piece that cradles your back.

- Turn tenons on the spindles: These need to be tight as they will take repeated punishment as you lay back in your chair.
- Join spindles and comb.
- Join comb assembly with seat.
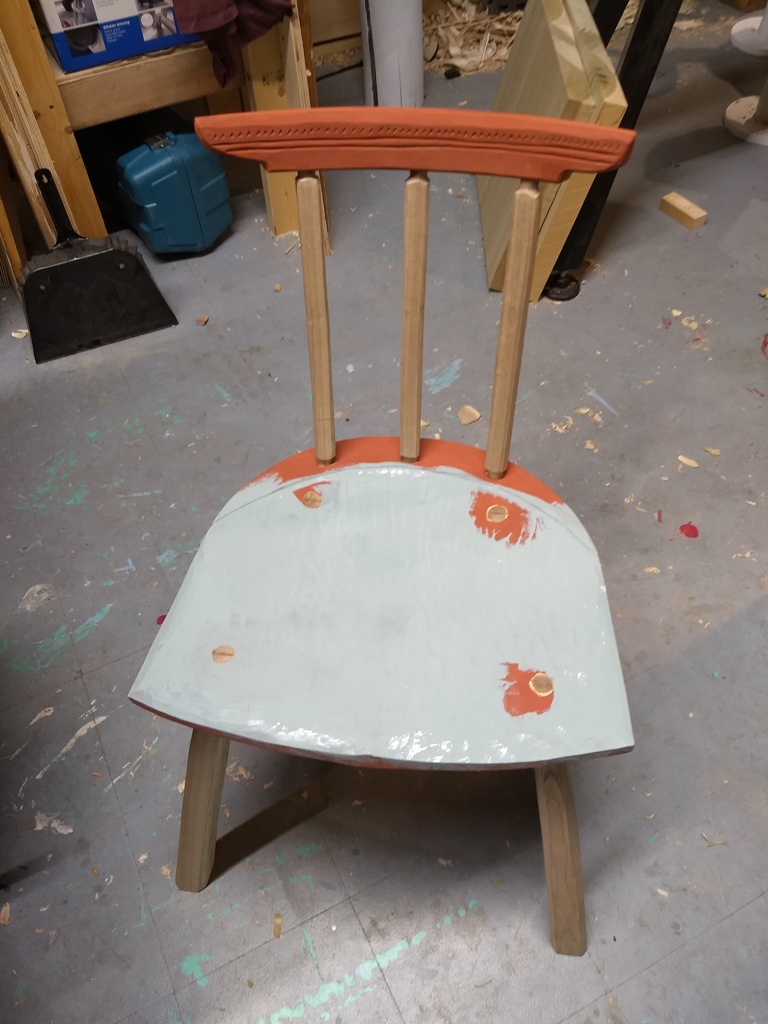
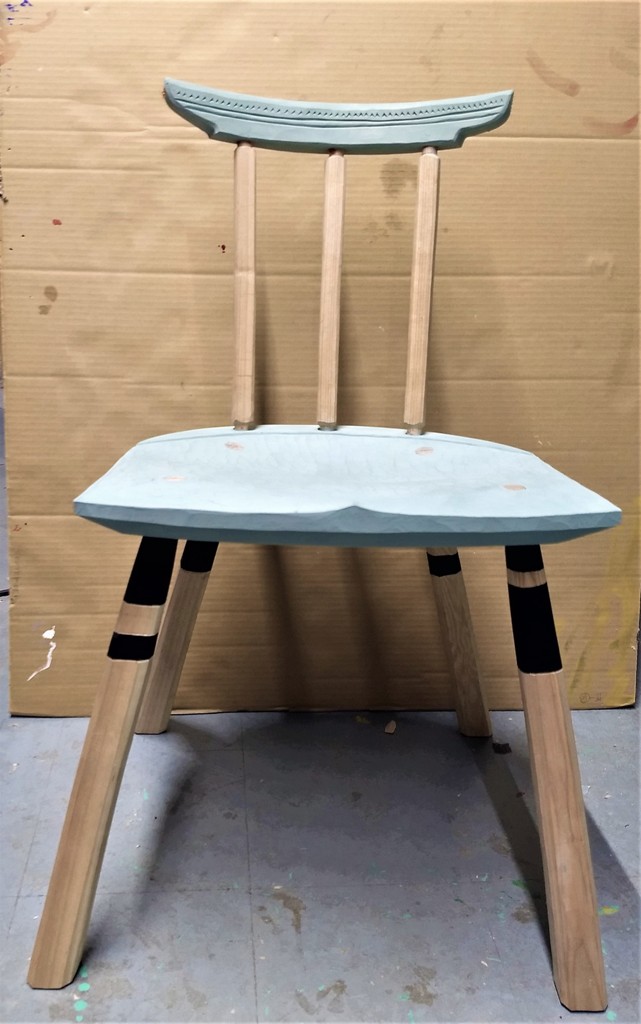
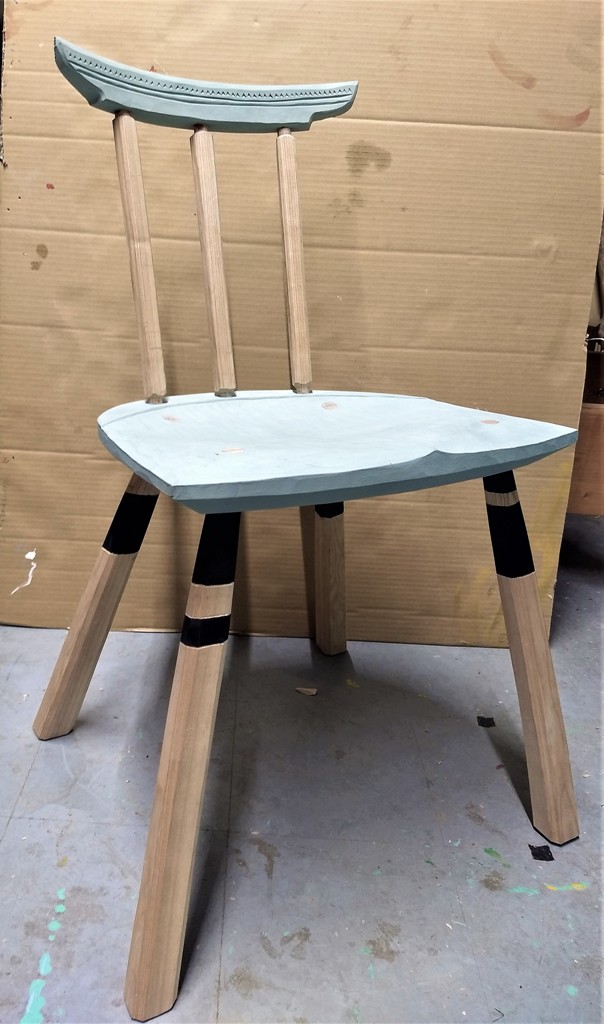
- Paint and finishes: I used milk paint to finish off the chair. There’s a base coat of orange with a finish coat of a light seafoam green. After running some fine grit sandpaper over the final painted surface the orange base coat shows through highlighting the texture of the carved surface.
- As a first run I’m quite pleased, but I did learn a few important lessons. The spindles should be tight but not too tight. I had some issues during assembly as I tried to join the spindles with the comb. There was a little bit of cracking in the seat and it was difficult to get the spindles fully seated in their mortises.
- I’m working on the next design and will report on that in an upcoming post.