
A week of tanning in Oregon
In her latest blog post, Resident Artisan Emily Derke writes about her experience learning about hide tanning on a trip to Oregon.
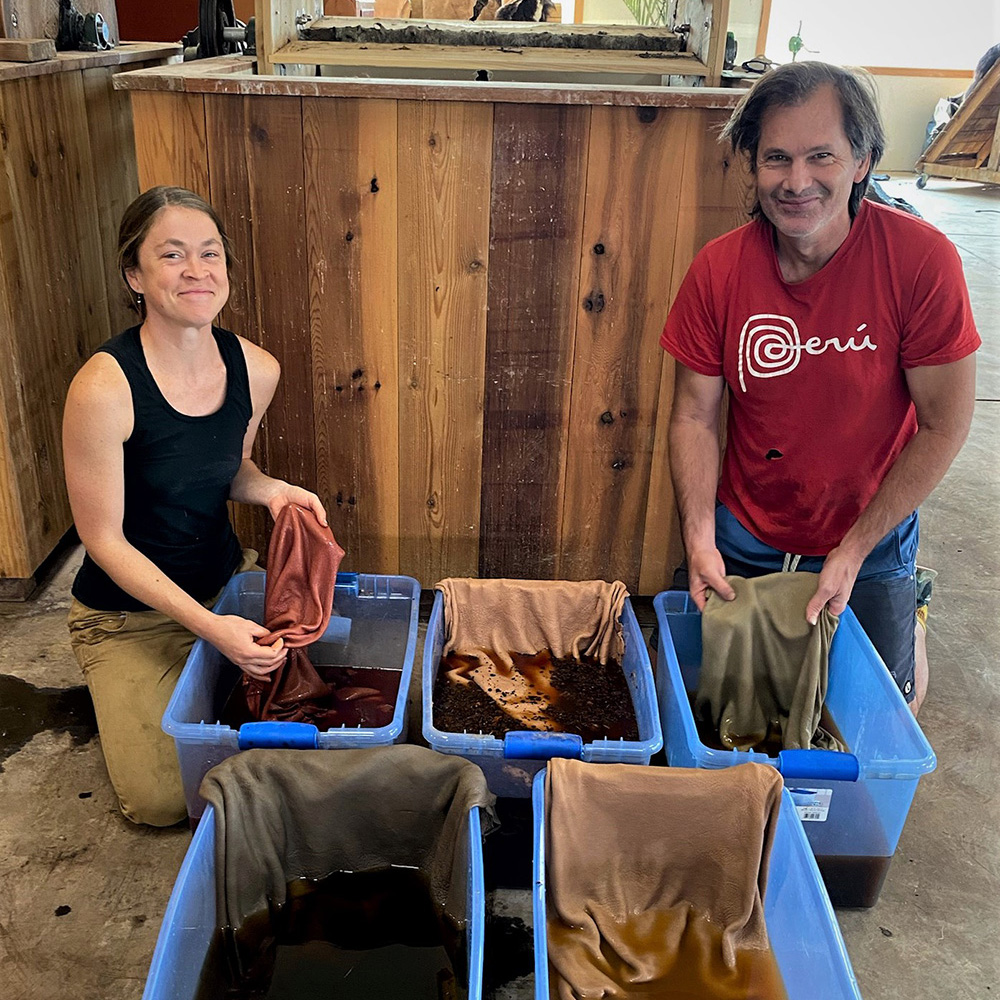
I just returned from a trip to southern Oregon, where I spent a week with Matt & Michelle Richards of Traditional Tanners. I had reached out to Matt to see if we could do some tanning together. A while back, Matt wrote the book Deerskins into Buckskins, which is my go-to brain tanning guide book. More recently, he has been putting a lot of great info out there on their instagram page about bark tanning, while showing his processes and experiences with his tannery, travels, and sharing general tanning information and discussions.
I arrived at the sight of a beautiful home full of handmade crafts and leathers, delicious food from the garden, and the most hospitable family who welcomed me to their house and workplace.
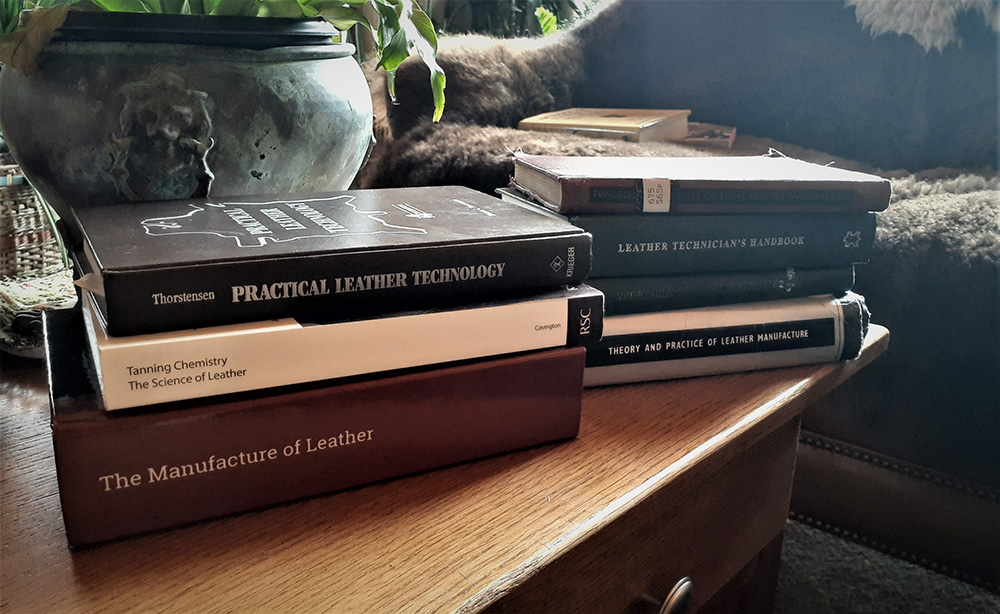
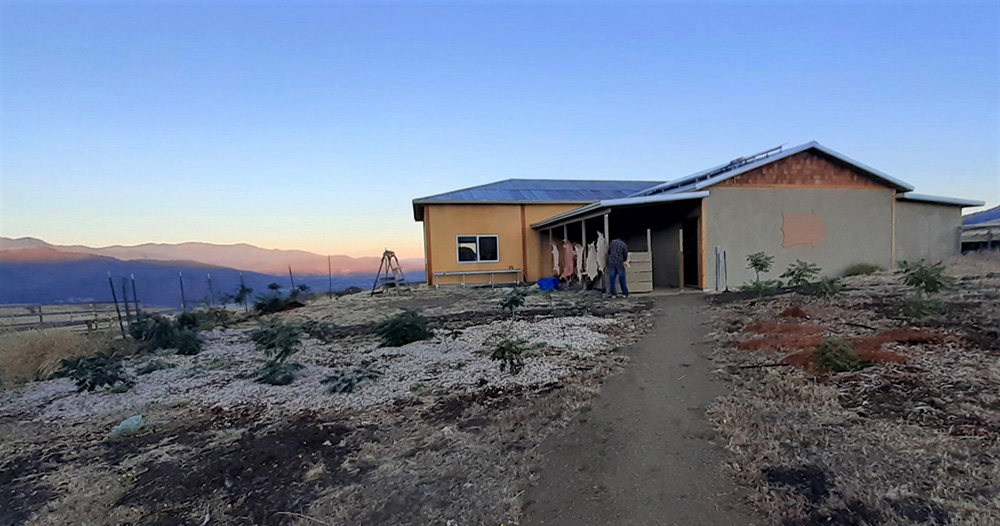
Leather production books / The tannery building
We started out discussing what we may try to accomplish throughout the week. That evening we began extracting tannins from some of the plant materials we had on hand. I had shipped some materials from Minnesota that I have access to for tanning, and Matt had a variety of tannin materials available as well. We would spend the week working on bark tanning deer hides, and seeing how different factors could affect the process. Additionally, we would go through the hide preparation steps with other hides (our hides we planned to use had already been prepared) - and we may as well throw a sheepskin in the mix - and also make sure to brain tan a deer hide.

Willow Bark / Sumac Leaf / Tan Oak Bark
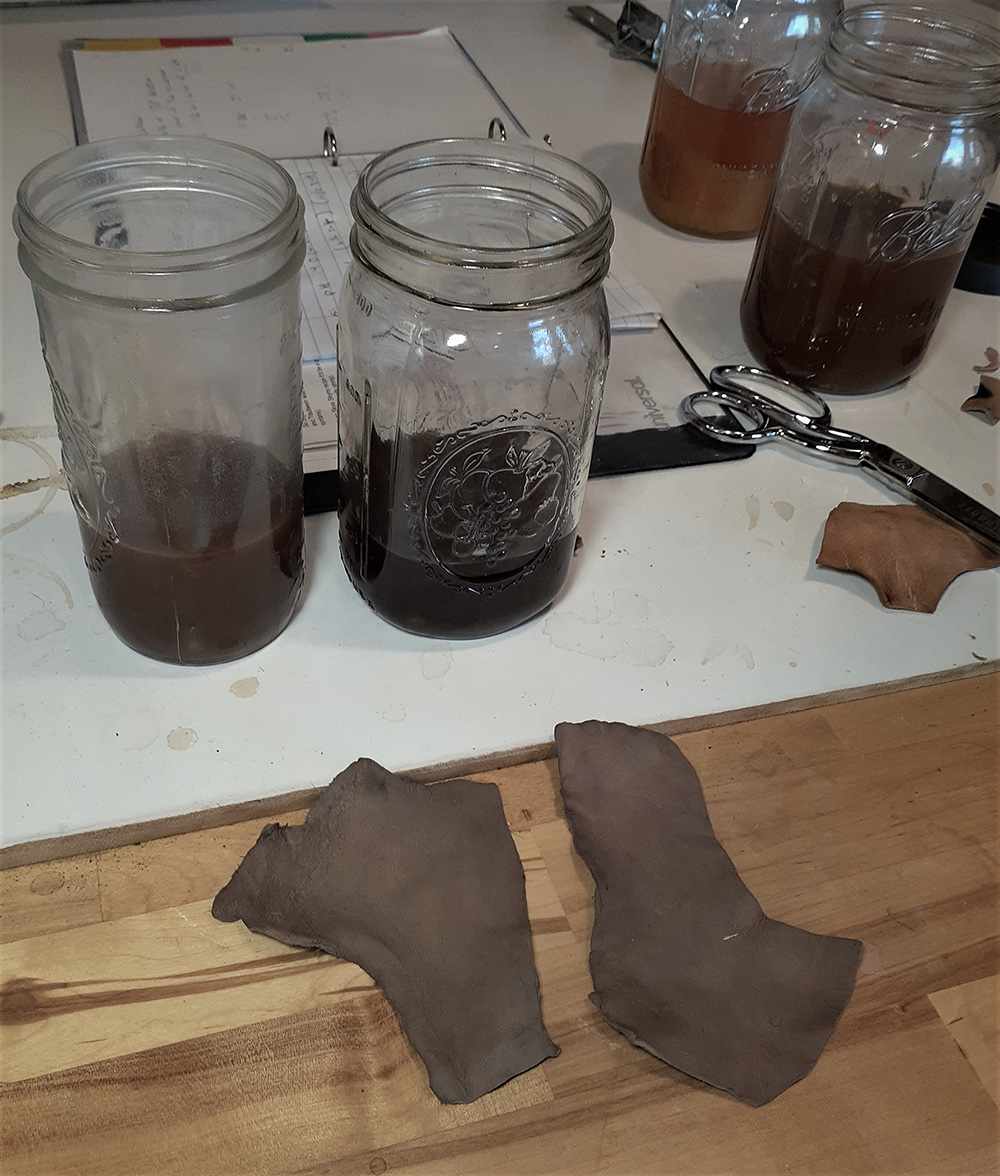
There are so many variables that create different types of leather. Factors like the strength of the solution, type of plant material, temperature, PH, and use of salt can all affect the way the leather turns out. We took small samples of deer hide and put them in jars of tannin solution to try out some different factors and see what we could learn before tanning whole hides.
There is a difference between the way that one would tan a large batch of hides in a tannery setting, vs one or two hides at home in a smaller container. Since Matt is tanning hides as a business, he has equipment to make this possible with efficiency to work with large numbers of hides. This was super interesting to see the large drums, fleshing machine, and paddle vats that can be used in the tanning process.
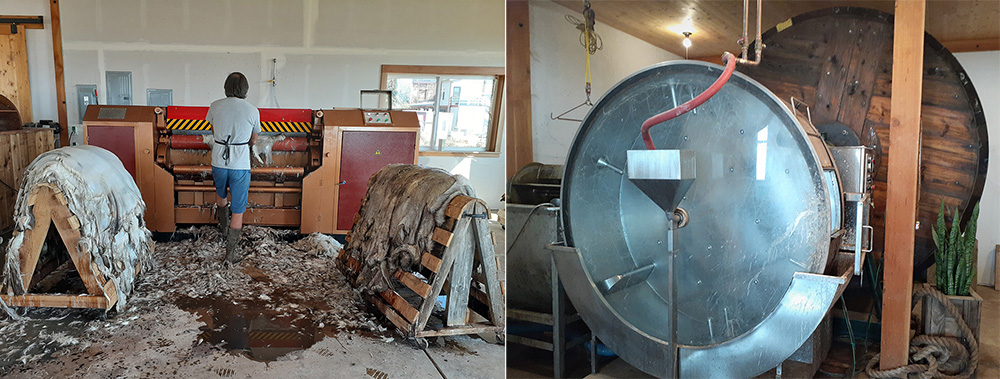
Matt working at the fleshing machine / Drums
We handled the hides we were working with in more of a home-scale tanning way. That way we could have many different variations going at once, and the work we were doing was something I could re-create in my own space.
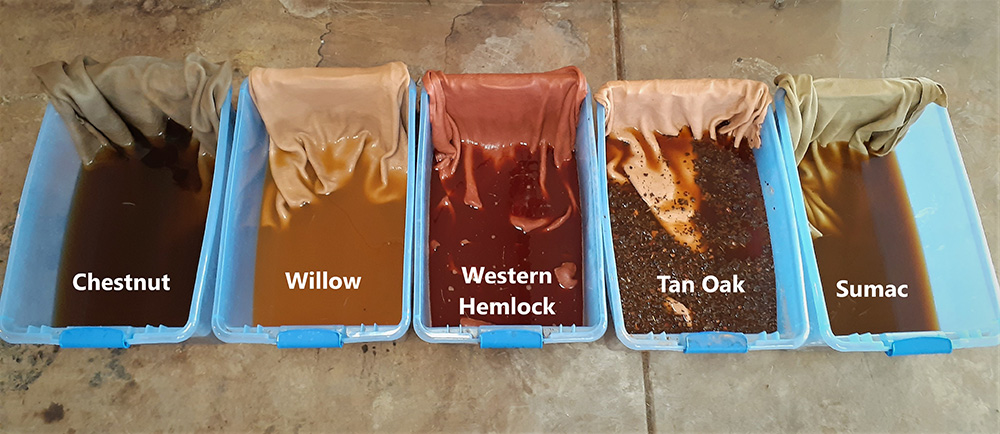
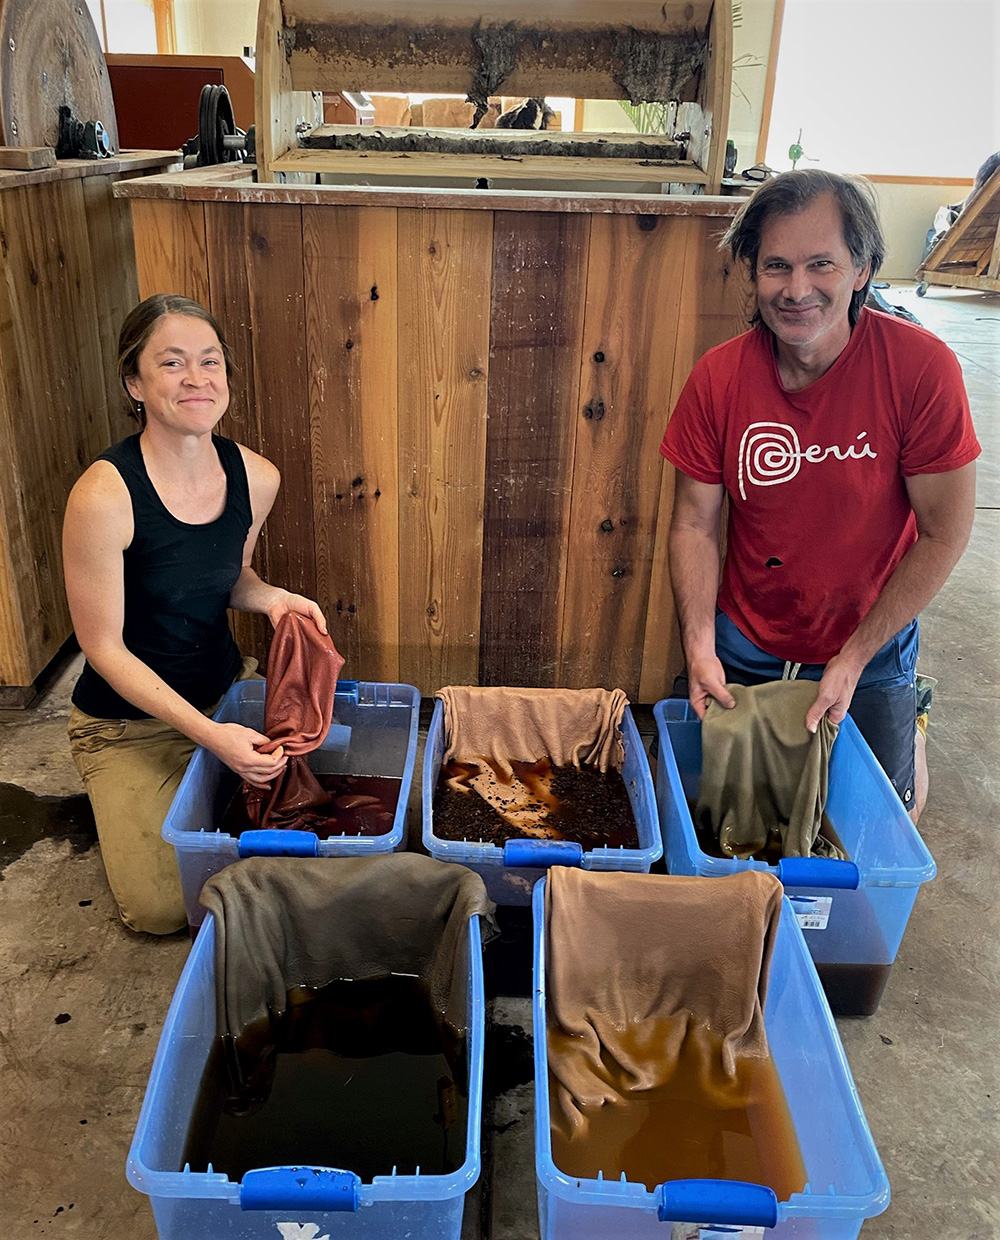
We put deer hides in the tannin solutions we had made of willow bark, tan oak bark, sumac leaves, chestnut extract, and western hemlock bark. As the hides transformed into leather throughout the week, we closely observed and recorded the details each. We cut small pieces off of the hides to check the progress each day and see how thoroughly they were tanned, and how they felt when dry. Different hides, different tannins, and other variables affected the pace and feel of each hide.
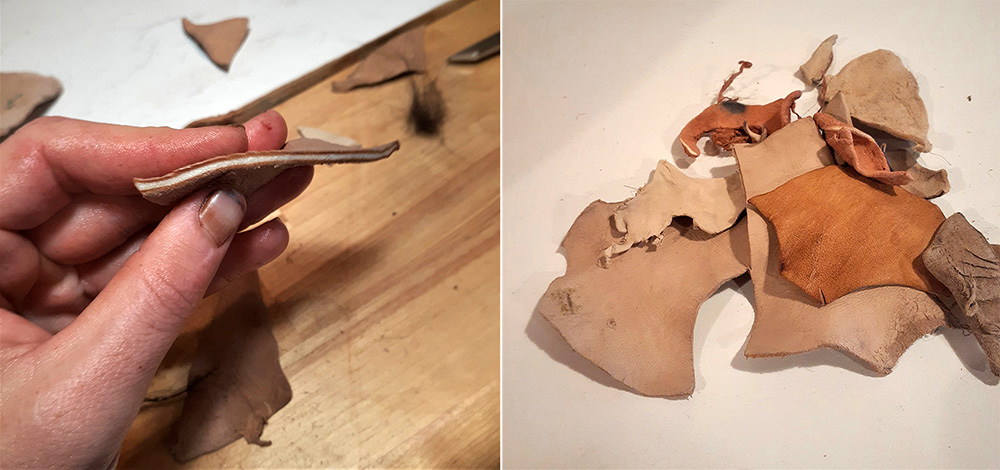
Checking the center of the hide to see how the tannin color has penetrated
The test pieces we cut from the hides each day were the main indicator to know when they were done. They would dry stiff, but readily soften up when worked a bit.
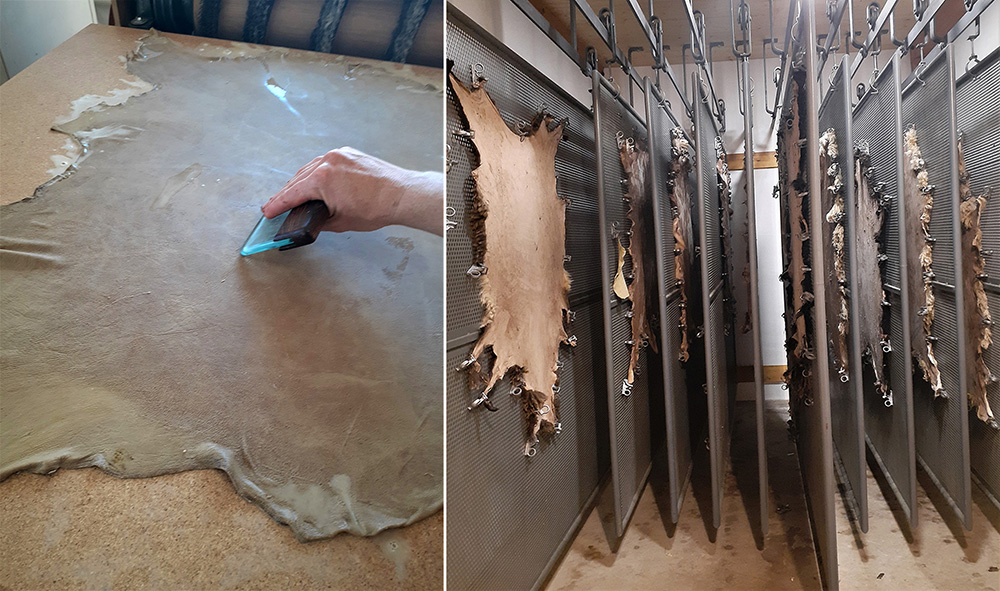
Once we determined a hide was finished tanning, we rinsed out the excess tannins, and soaked a fat emulsion. In this case we were using brains, olive oil, and water; though many different fats and oils will work. Then, the hides were set on a flat surface and gently smoothed out with a glass slicker. Next, the hides are tacked out on the drying rack. Once dry, the oiling process is repeated, and the hides are set to dry again.
Finally, with the dry hides we worked them over a stake to open them up and soften. They don’t need a ton of work to soften with this type of tanning. There are numerous other finishing steps that can happen after this step that can affect the final look, feel, and other properties of the leather too.
Working with Matt for a full week, I learned about many of the different factors I can think about when making leather, and how to be as specific and repeatable as possible with what I have available.
In learning about their tannery and business, I was endlessly inspired by the care, intention, and great effort that goes into sourcing materials in the most natural, organic, and thoughtful way possible. I am so grateful for the generosity and enthusiasm for teaching that was shared with me, and the long days and many hours spent before, during, and after my visit.