Building a Skjelter
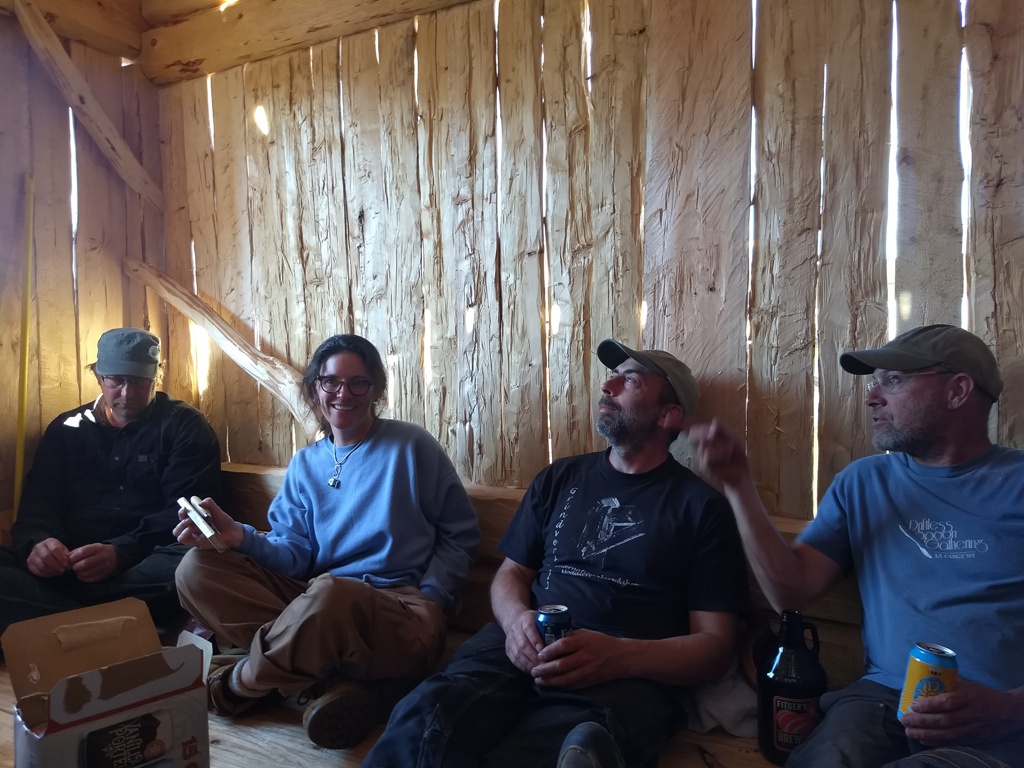
North House is bustling with the excitement of summer. Campus has been packed with classes and students from all over. This past month we hosted a guest instructor from Norway by the name of Trond Oalann. He visited us 2 years ago to teach a class about building a stavlinebygg, one of the many timber frame varieties found in Norway, so it was a thrill to have Trond back with his sense of humor and traditional carpentry expertise. Another fantastic and unanticipated pleasure of this class was that many of the students from Trond’s stavlinebygg class two years ago came for the skjelter class. Students inevitably form their own little class community but I have found that with these longer format courses students get to know each other well. To see so many familiar faces in this class was a treat. In the tradition of our last class there were many long work days followed by harborside grilling and music by the fire. What’s not to love?
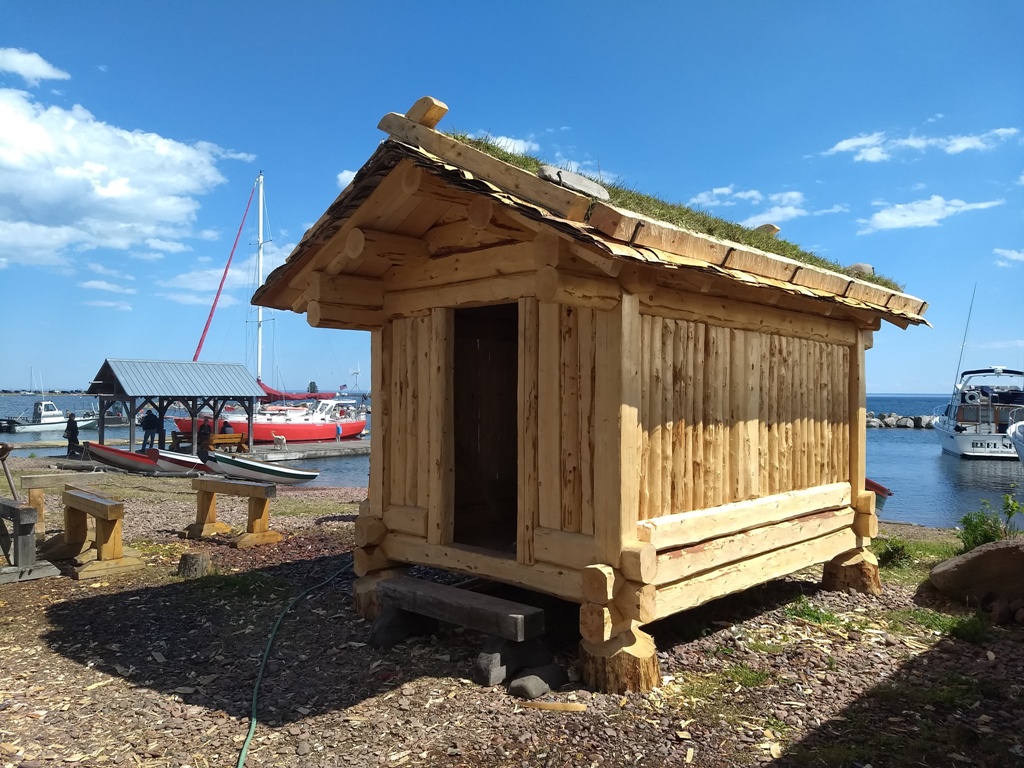
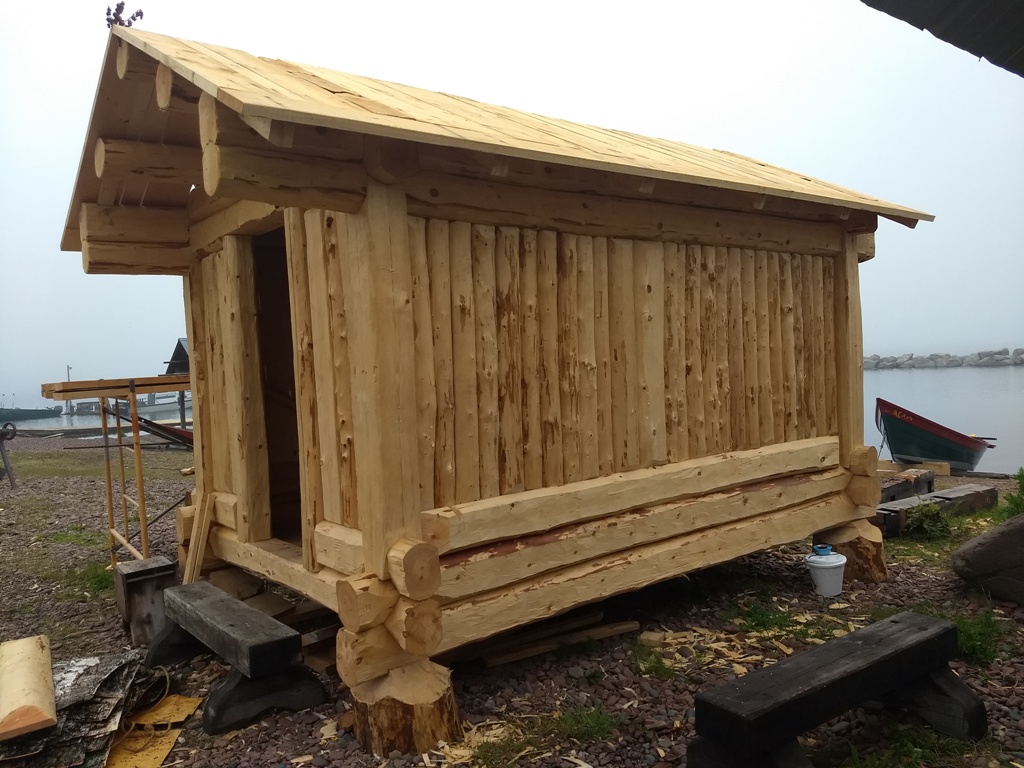
This class was organized around a structure called a skjelter. The name is pronounced “shelter” and refers to the removable vertical wall boards that define the structure. This building is part scribed log construction and part timber frame construction which offered us a lot of opportunities to learn new techniques. Skjelter buildings were used for unheated storage. Trond explained that they were most commonly used for hay. Since Norway is such a mountainous country agricultural land is precious. With that in mind farmers often salvaged any amount of hay that they could possibly get their hands on. Skjelter buildings were constructed on the fringes of the farm so this hay could be stored where it was cut, avoiding the labor intensive task of transporting hay from hard to reach places on the farm. These structure became far less common after fertilizers were introduced. They were also commonly used for cheese storage and boat houses.
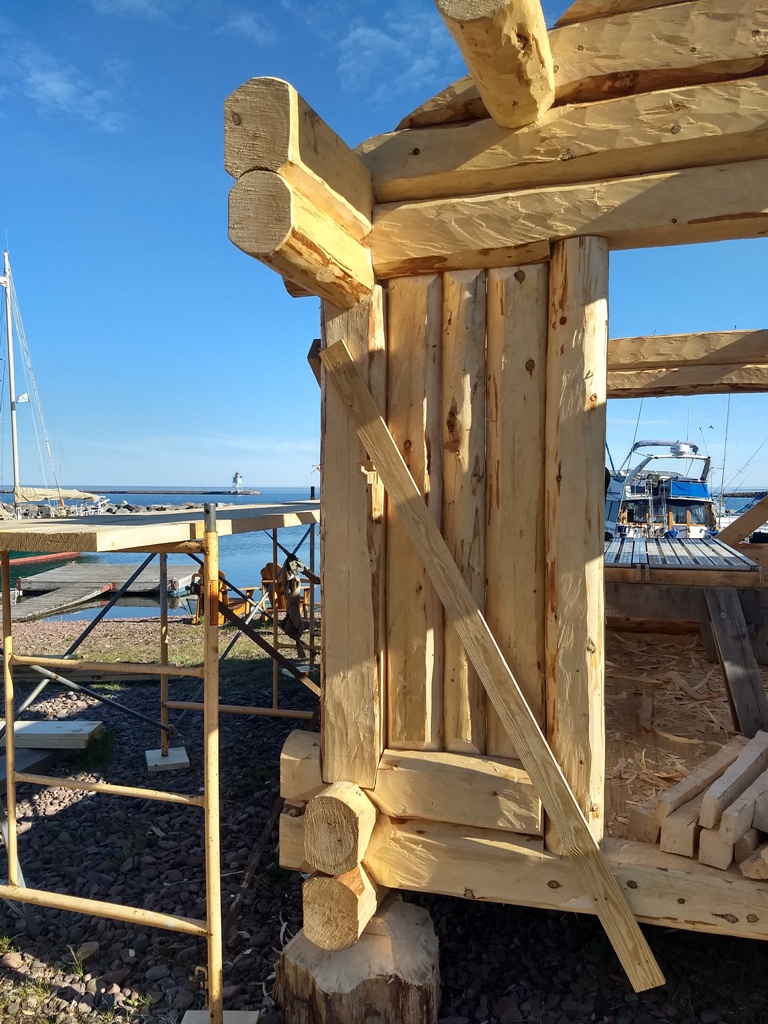
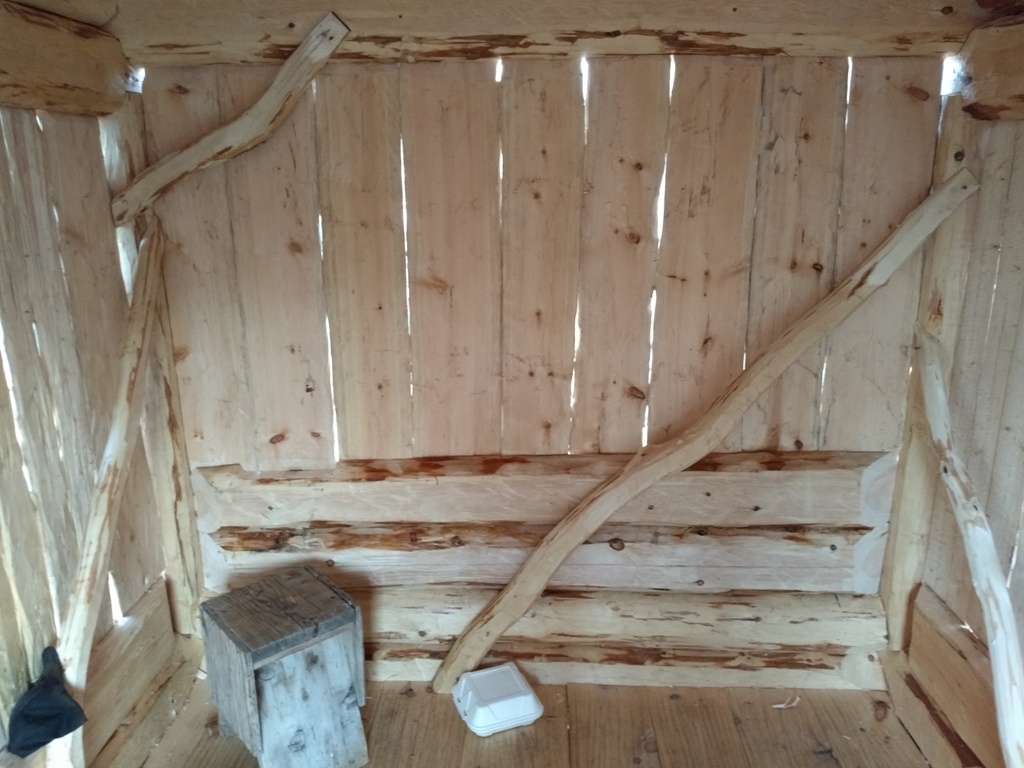
The neat feature of this building are the removable wall boards. There is a horizontal component that contains a lateral groove corresponding with a groove on the underside of the wallplates. This piece is tapered, allowing wall boards to be inserted at the widest opening and slid into place. This wall system gives some protection from driving rain but allows one to open up the building to allow air circulation.
We relied on hand tools for most of the work on this project. All the components were hewn with axes. The wall boards were made from small diameter black spruce that we sawed in half using a pit saw. There were many sun-kissed faces, blisters, and somehow, smiles.
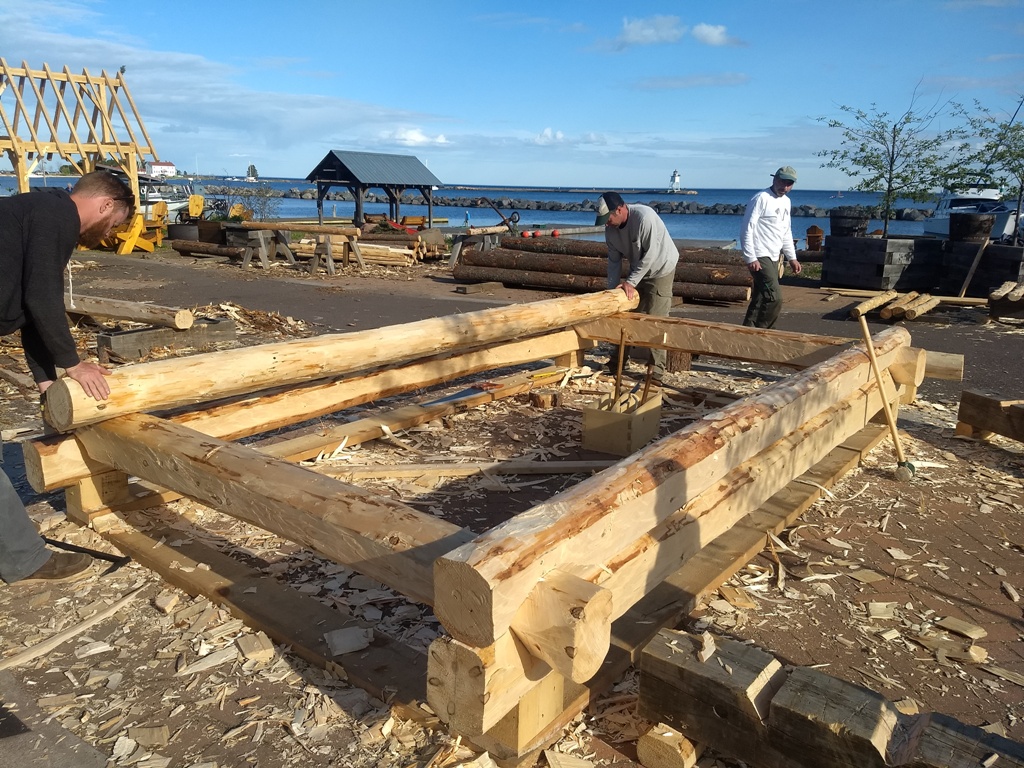
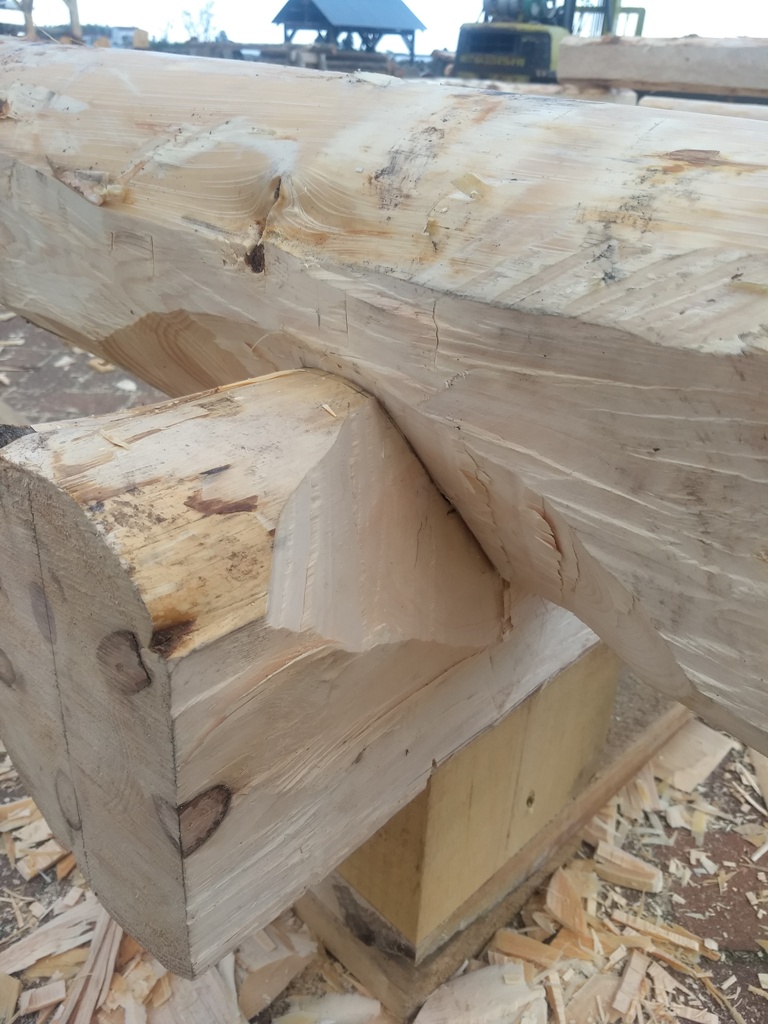
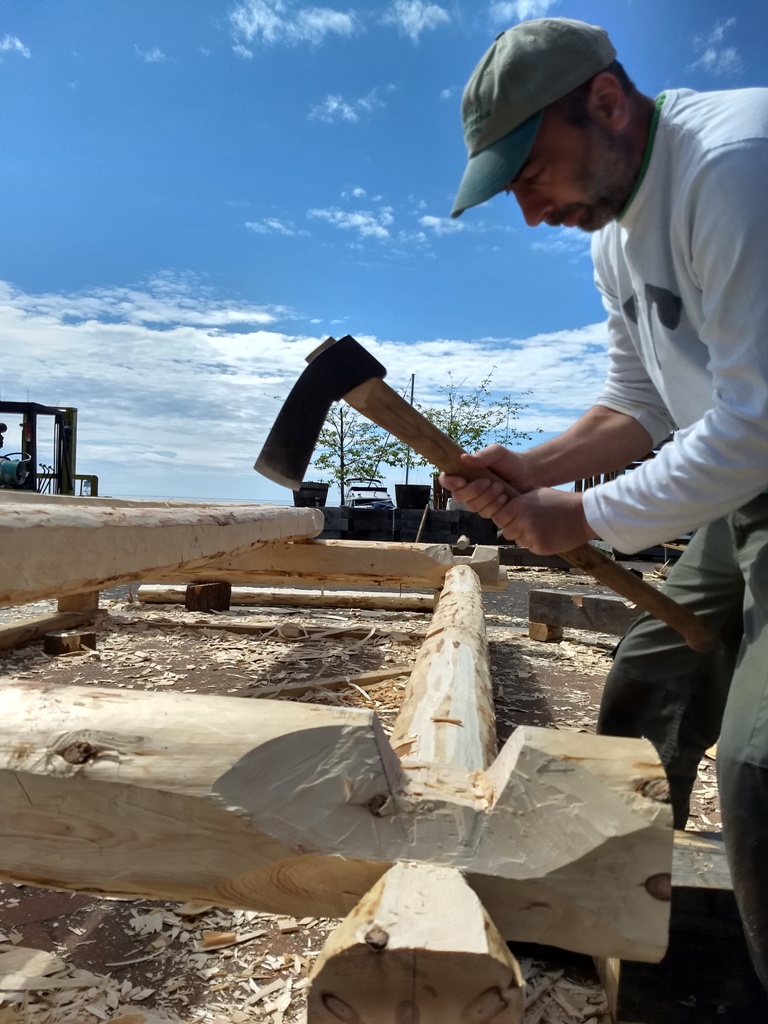
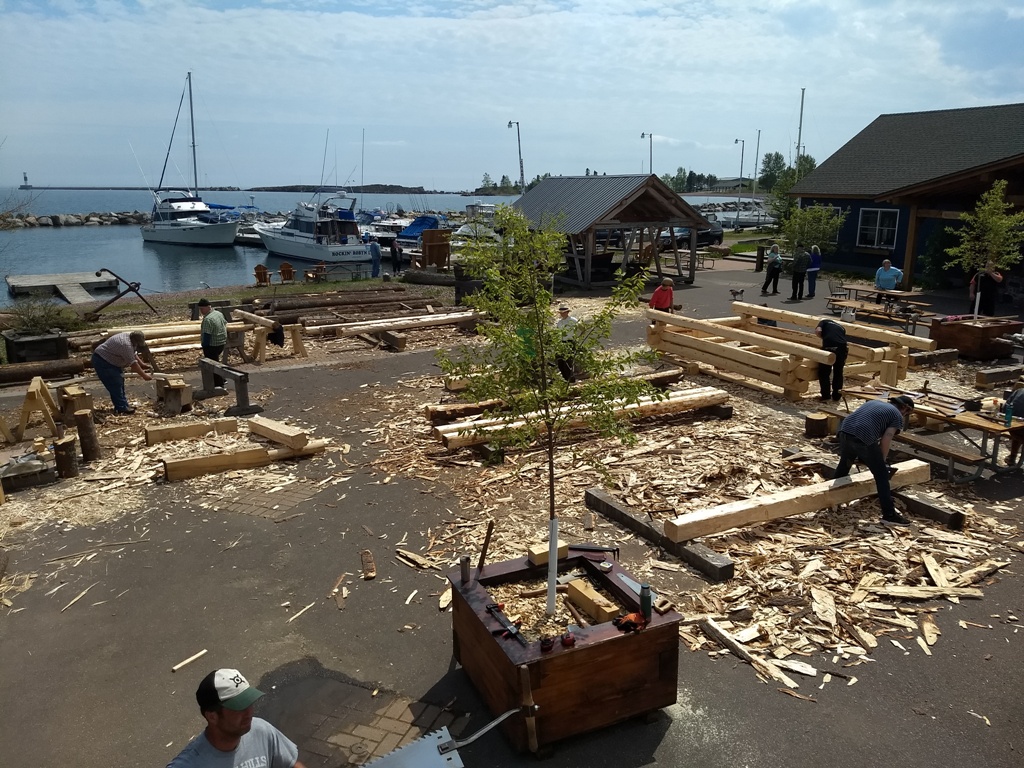
The building has two courses of scribed logs as a “sill” and two courses of logs that serve as wall plates. These scribed log courses are all laid out first then the gable wall logs and the roof system is created. This sequence allowed us to work at a comfortable height while scribing and fitting the top courses of logs and the roof system.
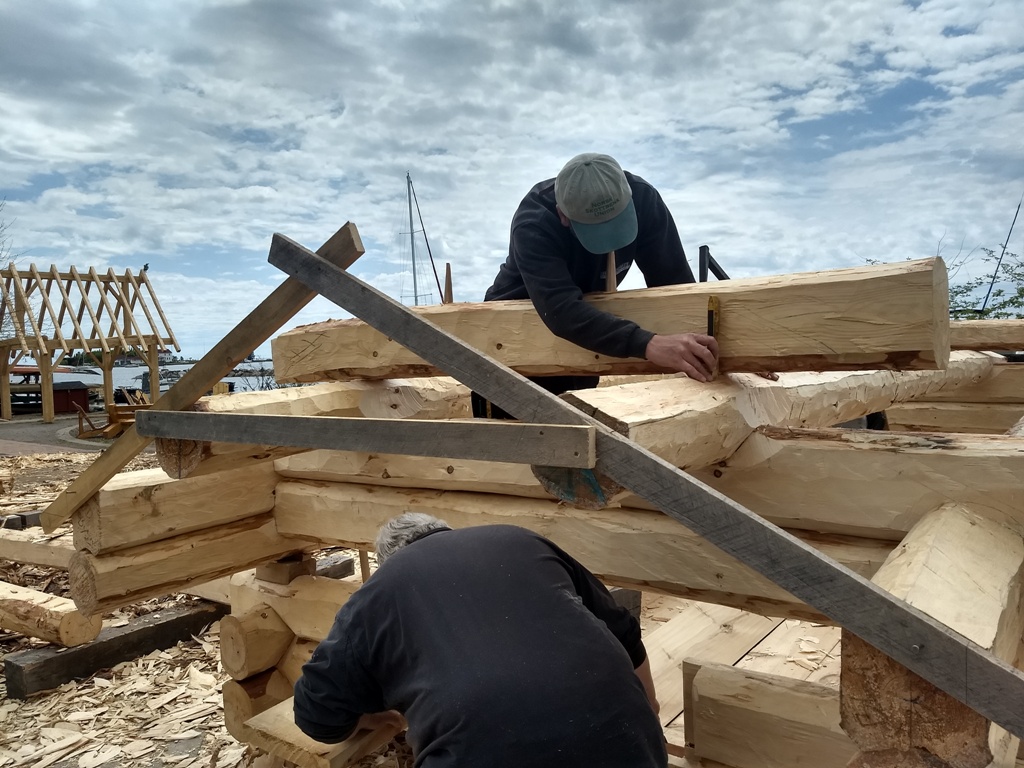
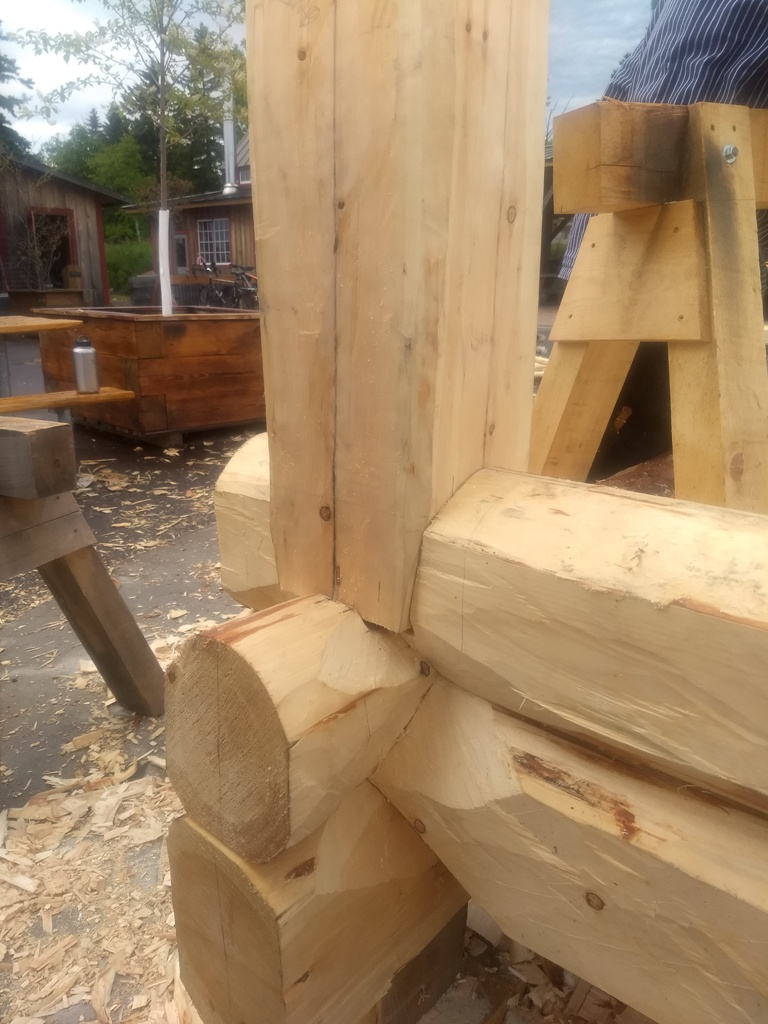
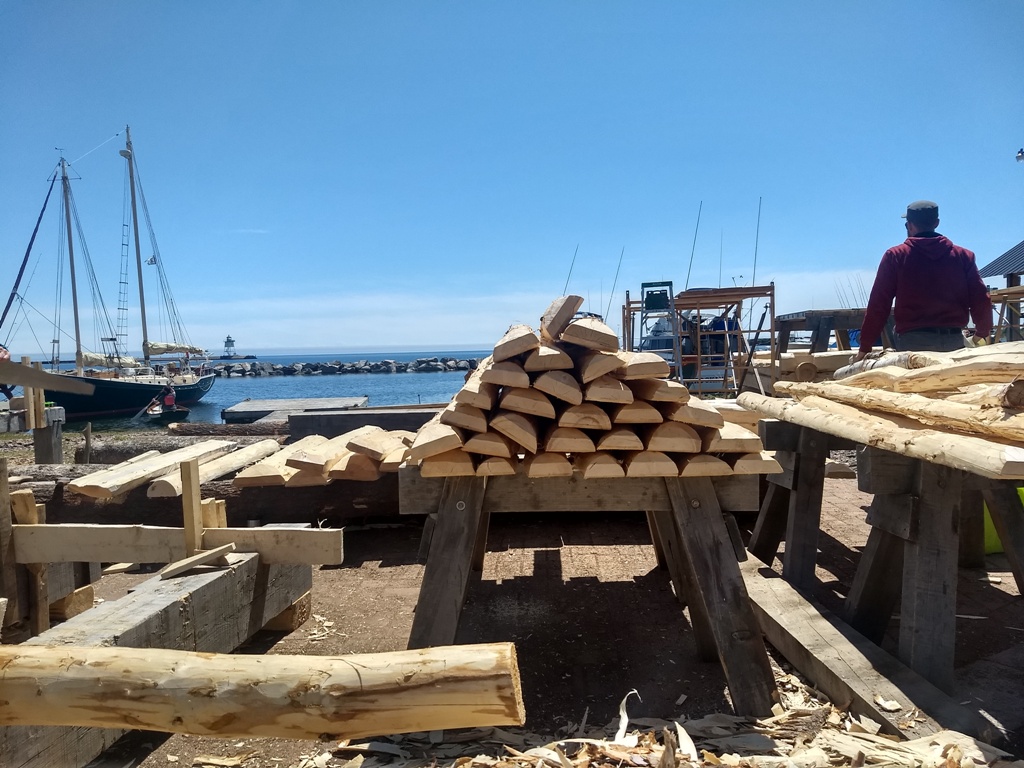
After all these pieces were dry fit we took apart the assembly and fit posts into the 4 corners of the structure. Once these fit nicely the upper log courses and roof assembly were put back together. Ceiling boards and interior floor boards were scrub planned and installed. After 10 days of hard work we all took a break for the wooden boat show.
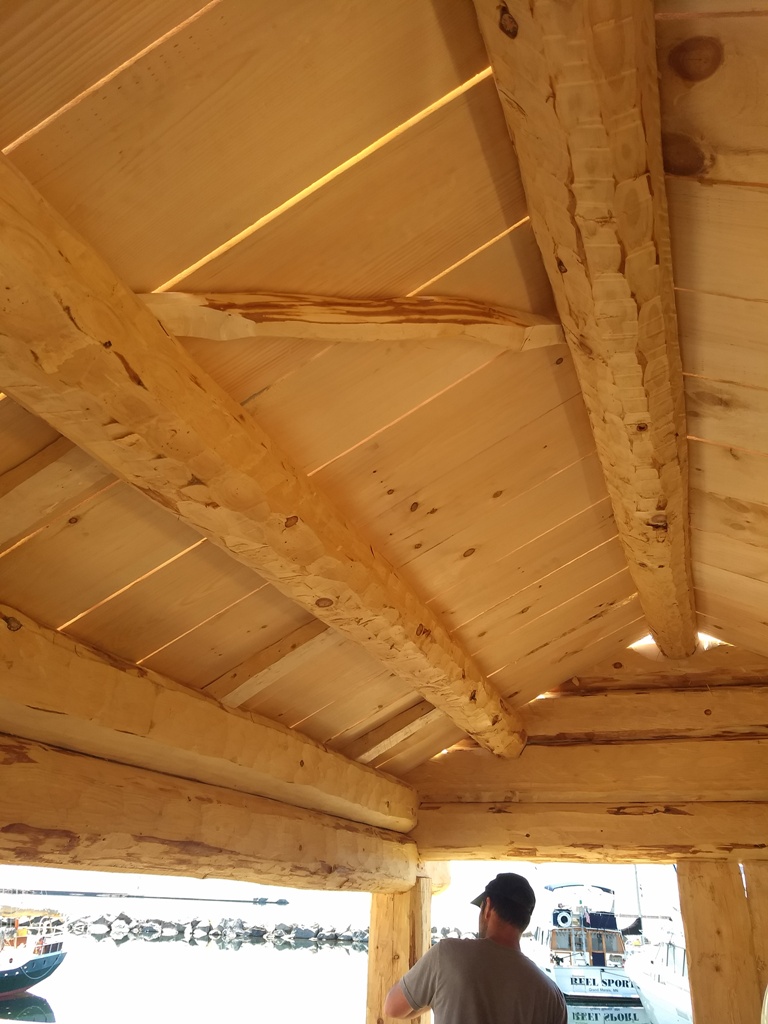
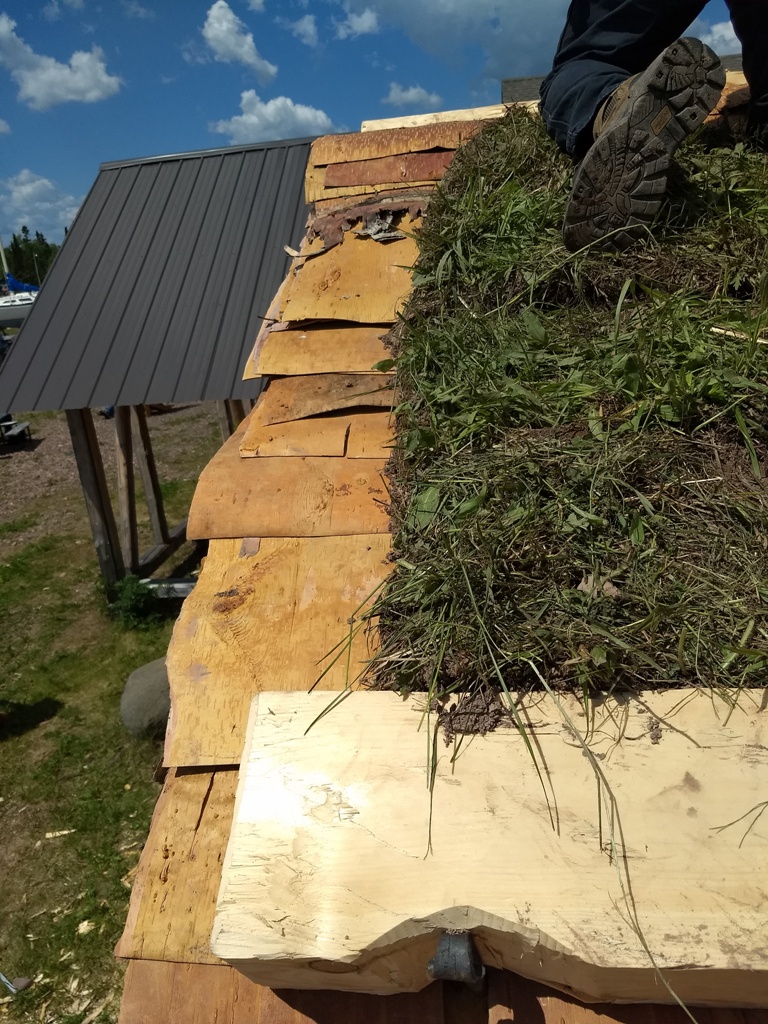
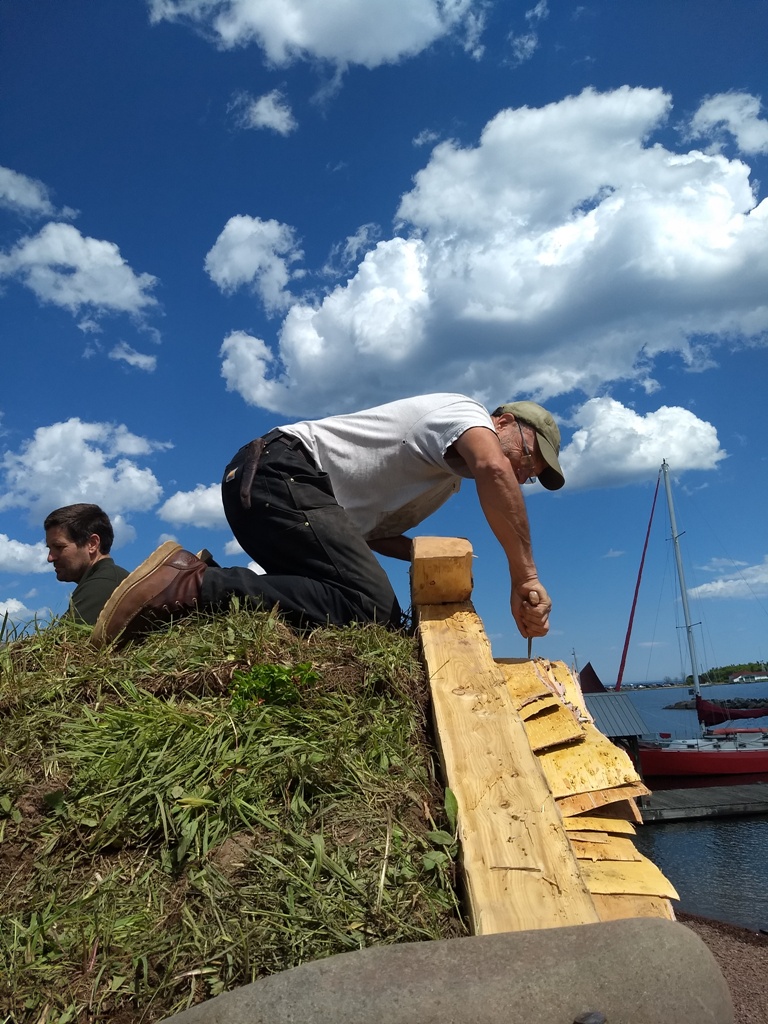
Immediately following the Wooden boat show Trond led a three-day workshop to finish off the skjelter with a traditional birch bark and sod roof. Birch bark is amazing material. It is waterproof and rot resistant. In this roof system the layered birch bark creates the waterproof drainage plane. Under the UV light protection provided by the 5” thick slabs of turf this bark will likely last 70-120 years. Not bad. Some of the exposed edges along the eaves and gable ends may need a bit of repair work before then, but it’s a durable and beautiful roof.
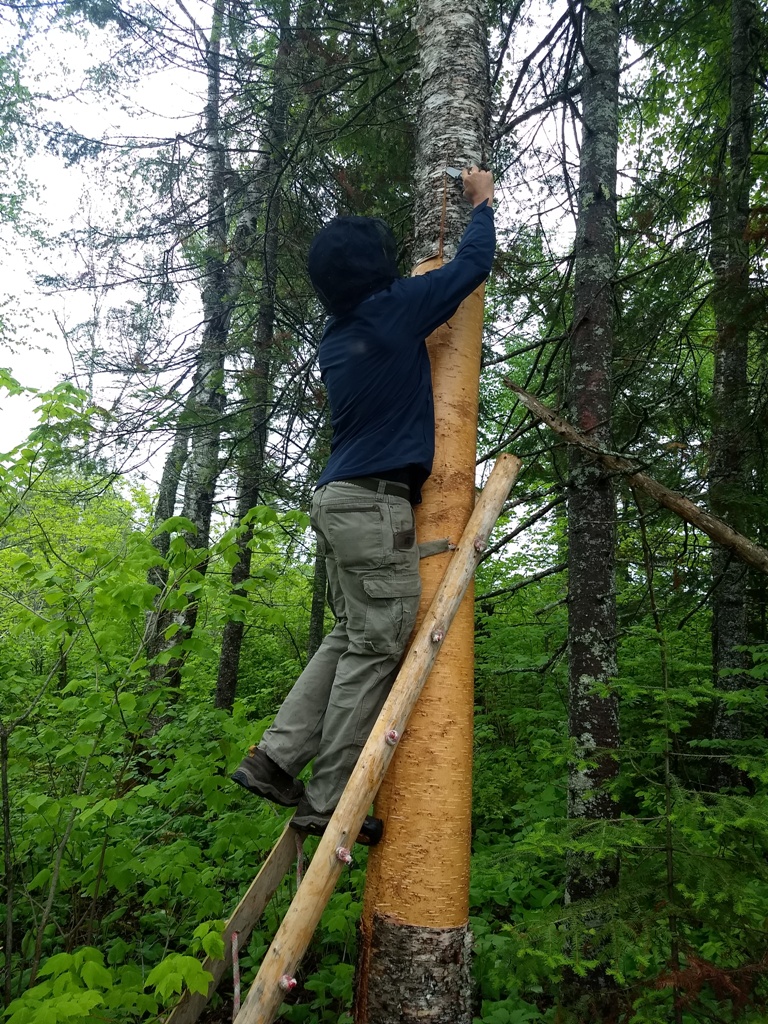
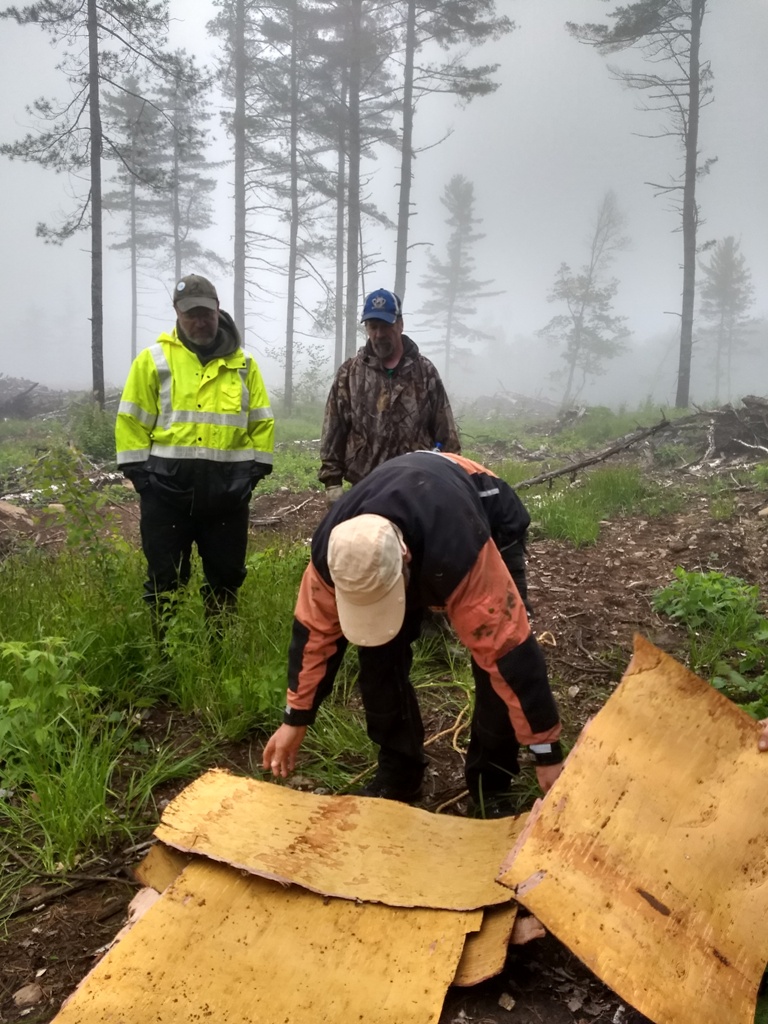
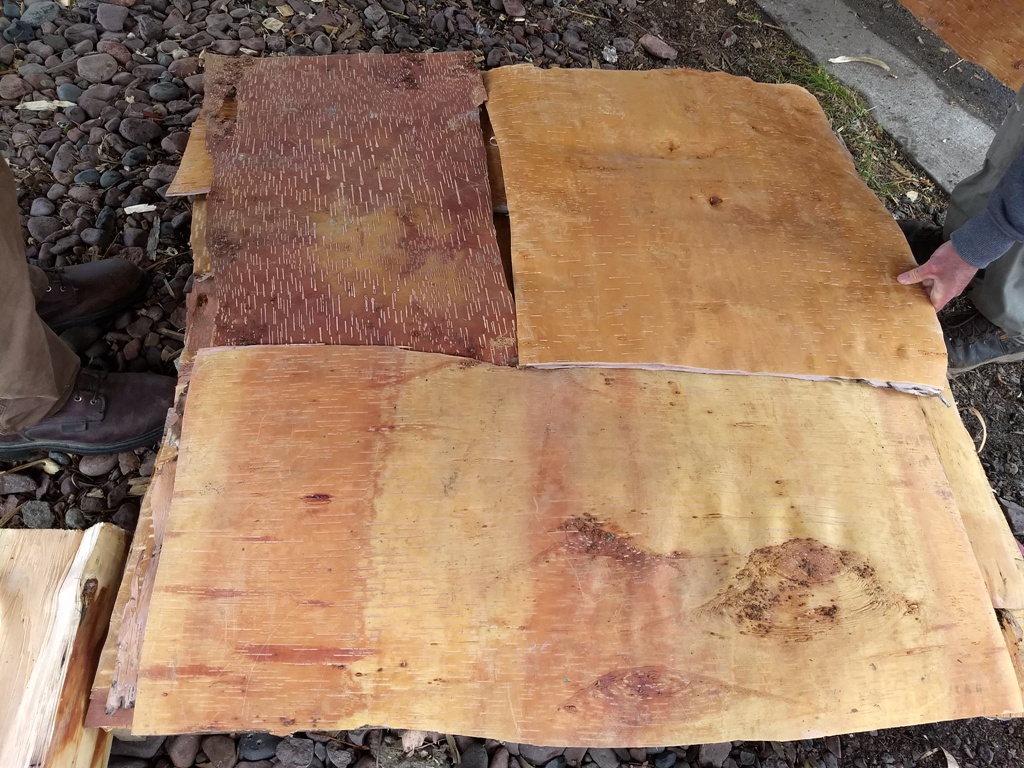
Last year Peter Henrikson and I along with a number of kind and willing volunteers harvested 600 pounds of birch bark for this project. The volume of bark required for this little roof was quite surprising. There’s about 7 layers of bark in any given spot on the roof.
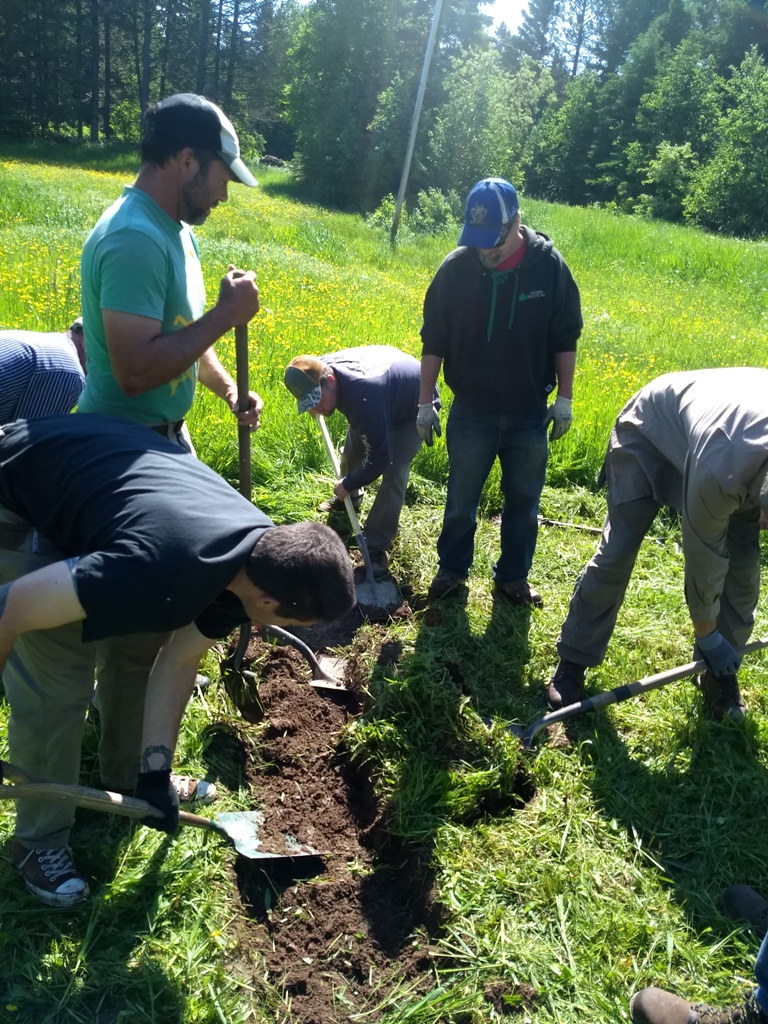
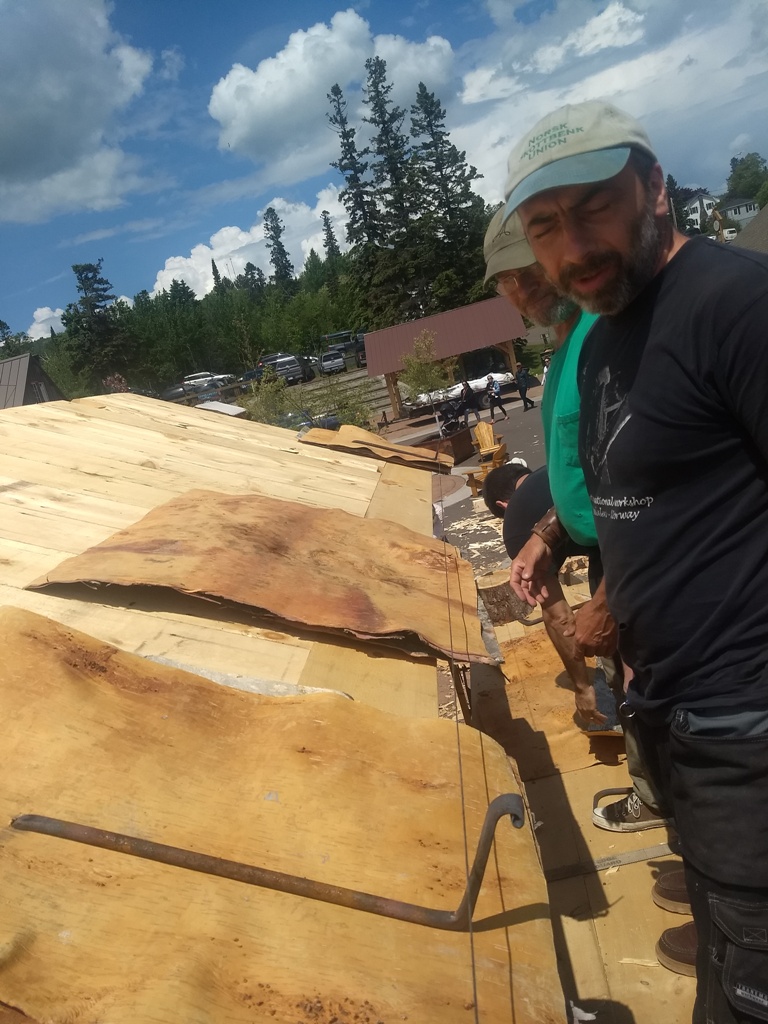
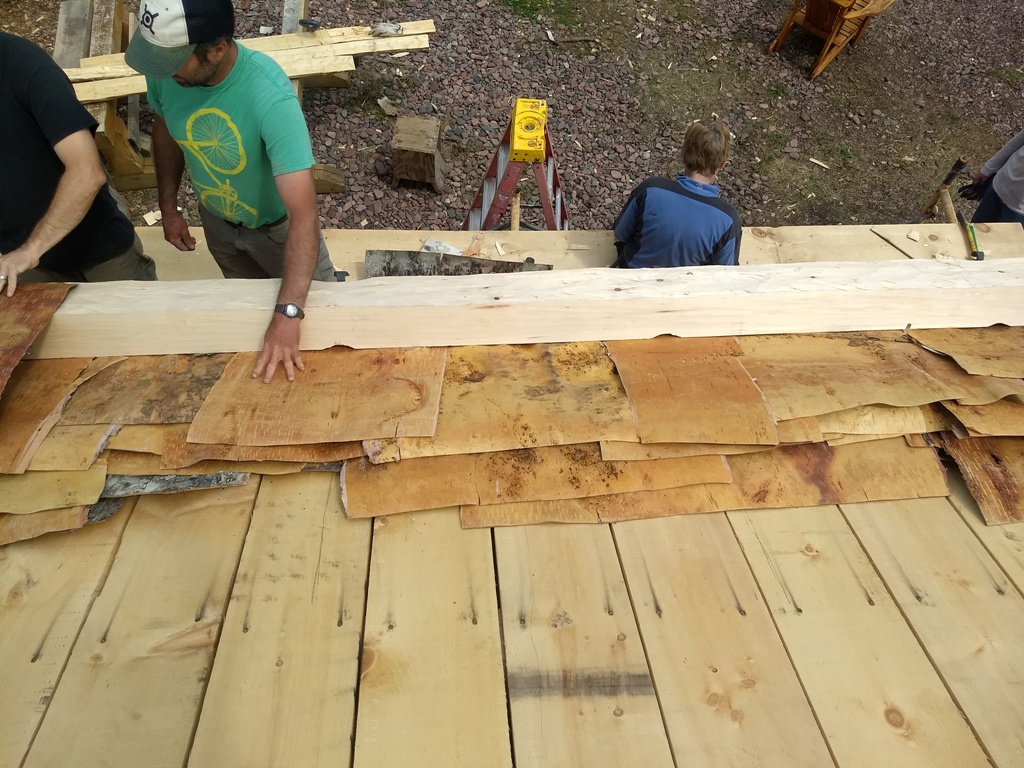
The bark is laid directly on to the roof boards and interwoven and layered in such a way that there are no upturned seams. Iron brackets were forged to support a hewn log that runs along the eave and serves as a retention wall for the sod. The sod weighs down the bark and protects it from the elements. Finally a half lapped pair of timbers straddles the ridge pinning down the bark and retaining the sod. These timbers are held in place with large stones that are notched and held down by a long clinched nail.

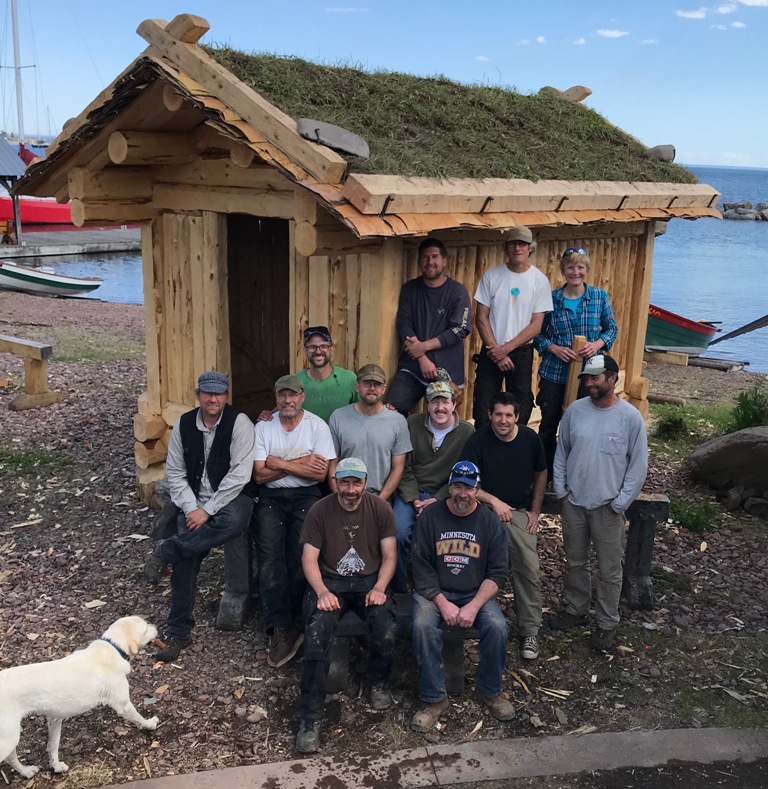
It was a great project with a fun crew and a great instructor. This little building looks right at home sitting on the harbor!
It you want to follow more of Trond’s work check out his instagram feed @oalannt.