
Before You Weave
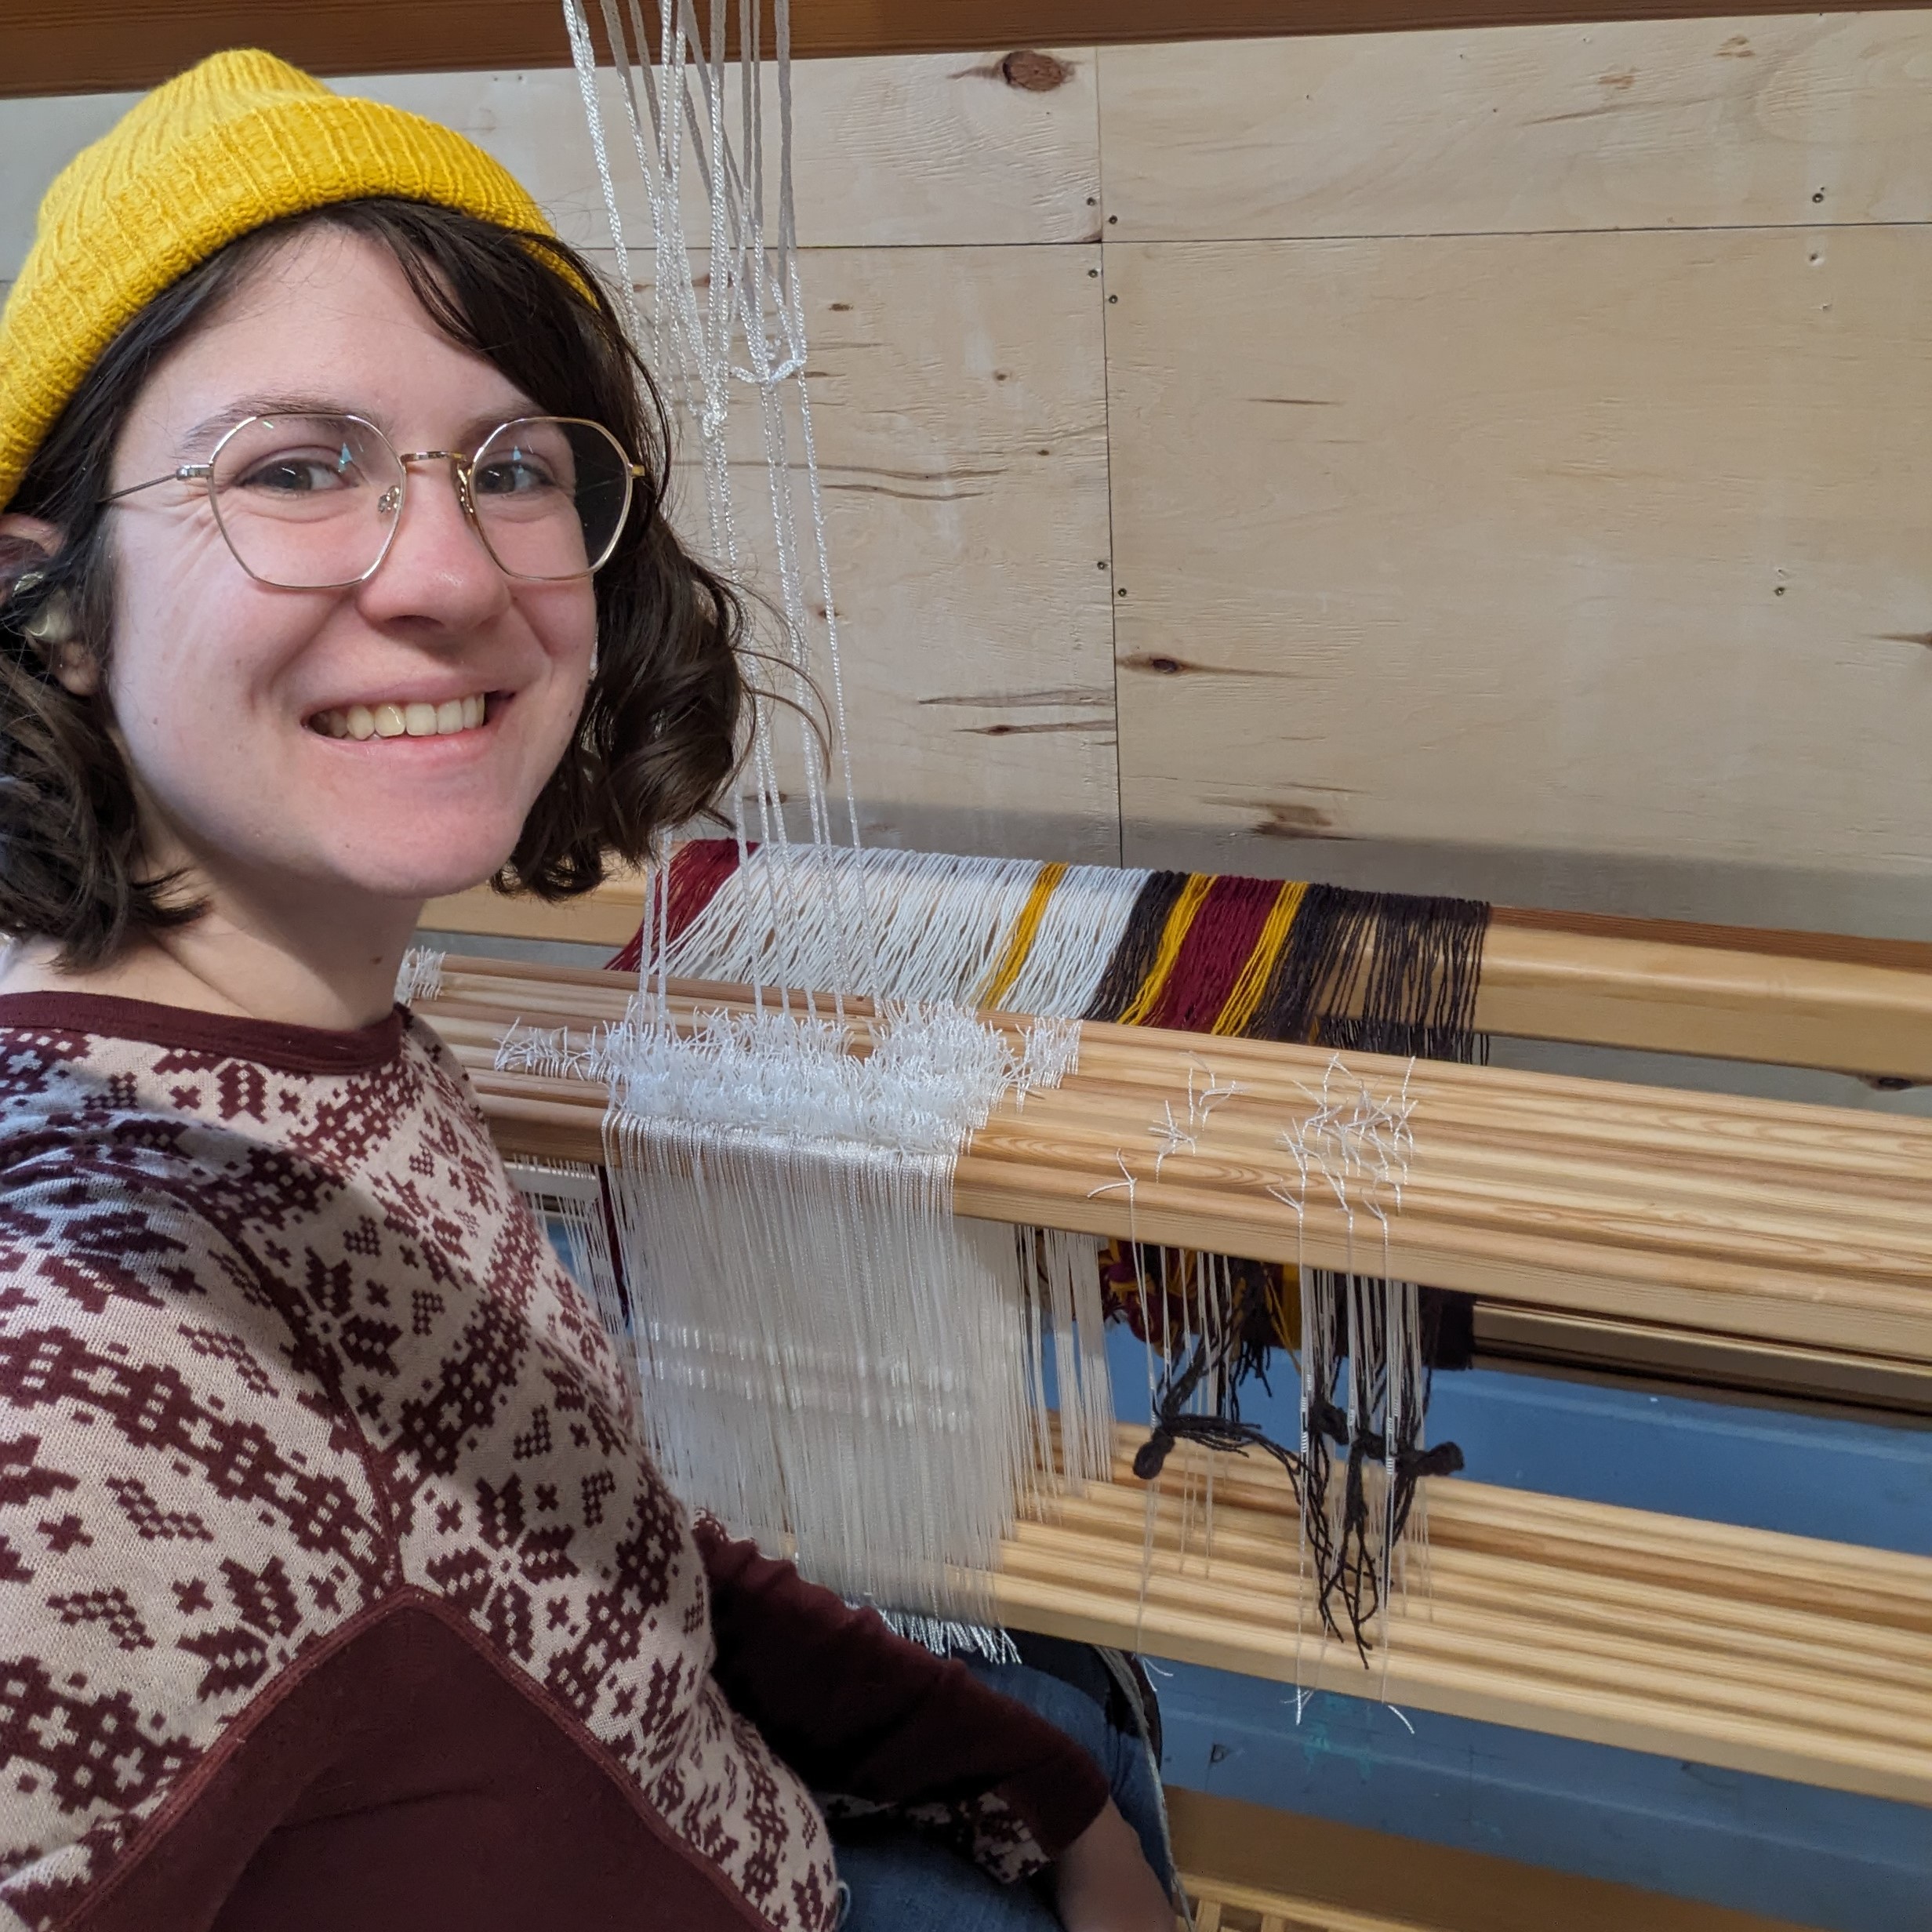
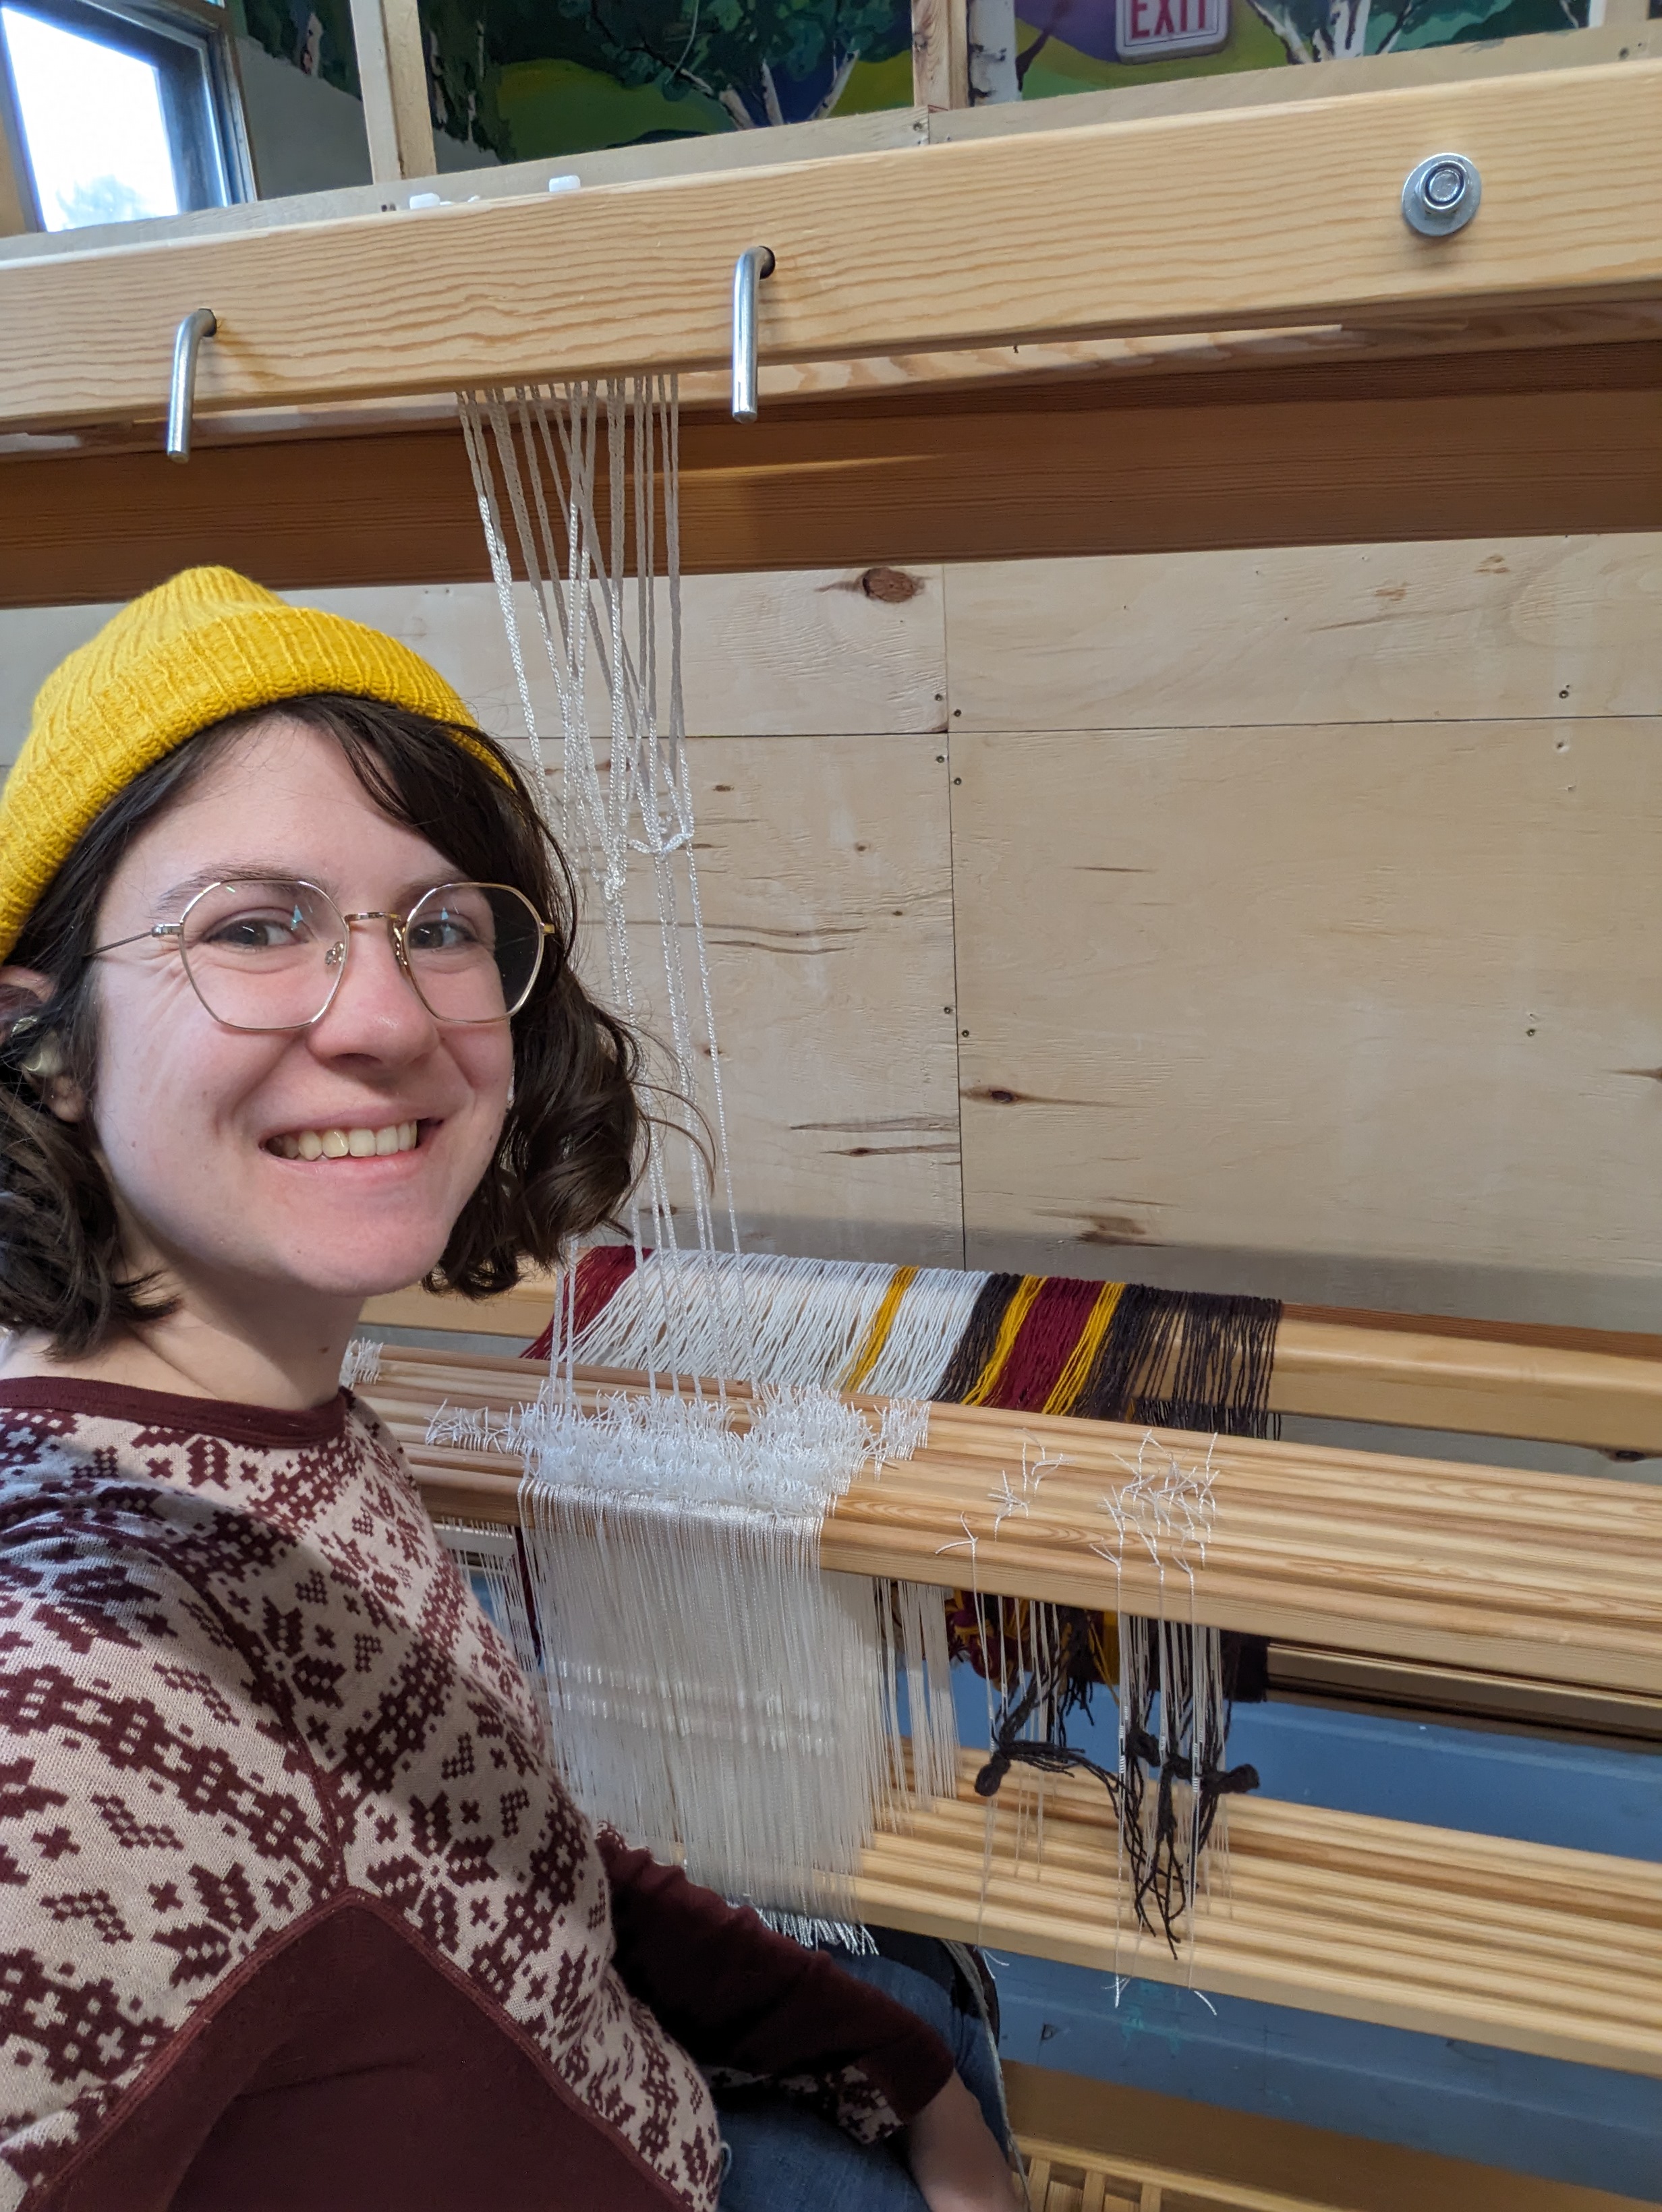
How long does it take to set up a loom? In her newest blog post, Resident Artisan Caroline Feyling shows us the multi-step process of setting up a loom and preparing to weave.
One of the most common questions I get at craft events is “How long did it take you to make that?” My answer is usually something to the effect of “It took _____ amount of time to weave, but the setup was about 15 hours.” I almost always am met with surprised faces. How can something so seemingly simple take so long to prepare?
I admit that the setup time for a single piece is not 15 hours. That is roughly the amount of time for a longer warp that has enough warp yarn for several pieces. Seeing as the setup process is so involved it is economical to set up your loom once with a longer warp so you do not have to constantly re-dress your loom. I frequently put on warps that range from nine meters to 24 meters on my loom.
In this blog post, I thought I would share with you the nine major steps one must complete before even making the first shuttle pass. These steps of invisible labor are integral to the weaving process. Executing them well is a large part of what makes a beautiful and well-tensioned final piece.
1. Design
The first step in creating a weaving is design. This entails looking over books and my old drafts for inspiration. From these inspirations, I will design a new draft. For striped warps, I also create wrappings to help me envision how the colors will look together.
2. Math
Believe it or not, yarn math is one of my favorite parts of the weaving process. In this step, I calculate sett, which consists of the number of ends per inch, the reed size, and how densely the reed is sleyed. At this point, I also calculate how long to wind my warp by taking into account the number of pieces I will weave with that warp, loom waste, and takeup. If my warp is striped I also plan out my warp color order.
3. Wind
On my warping mill, I measure out the length of each warp thread. While winding my warp I put a cross in at one end so that my threads do not get crossed while threading and sleying. The pictured warp is twelve meters long.
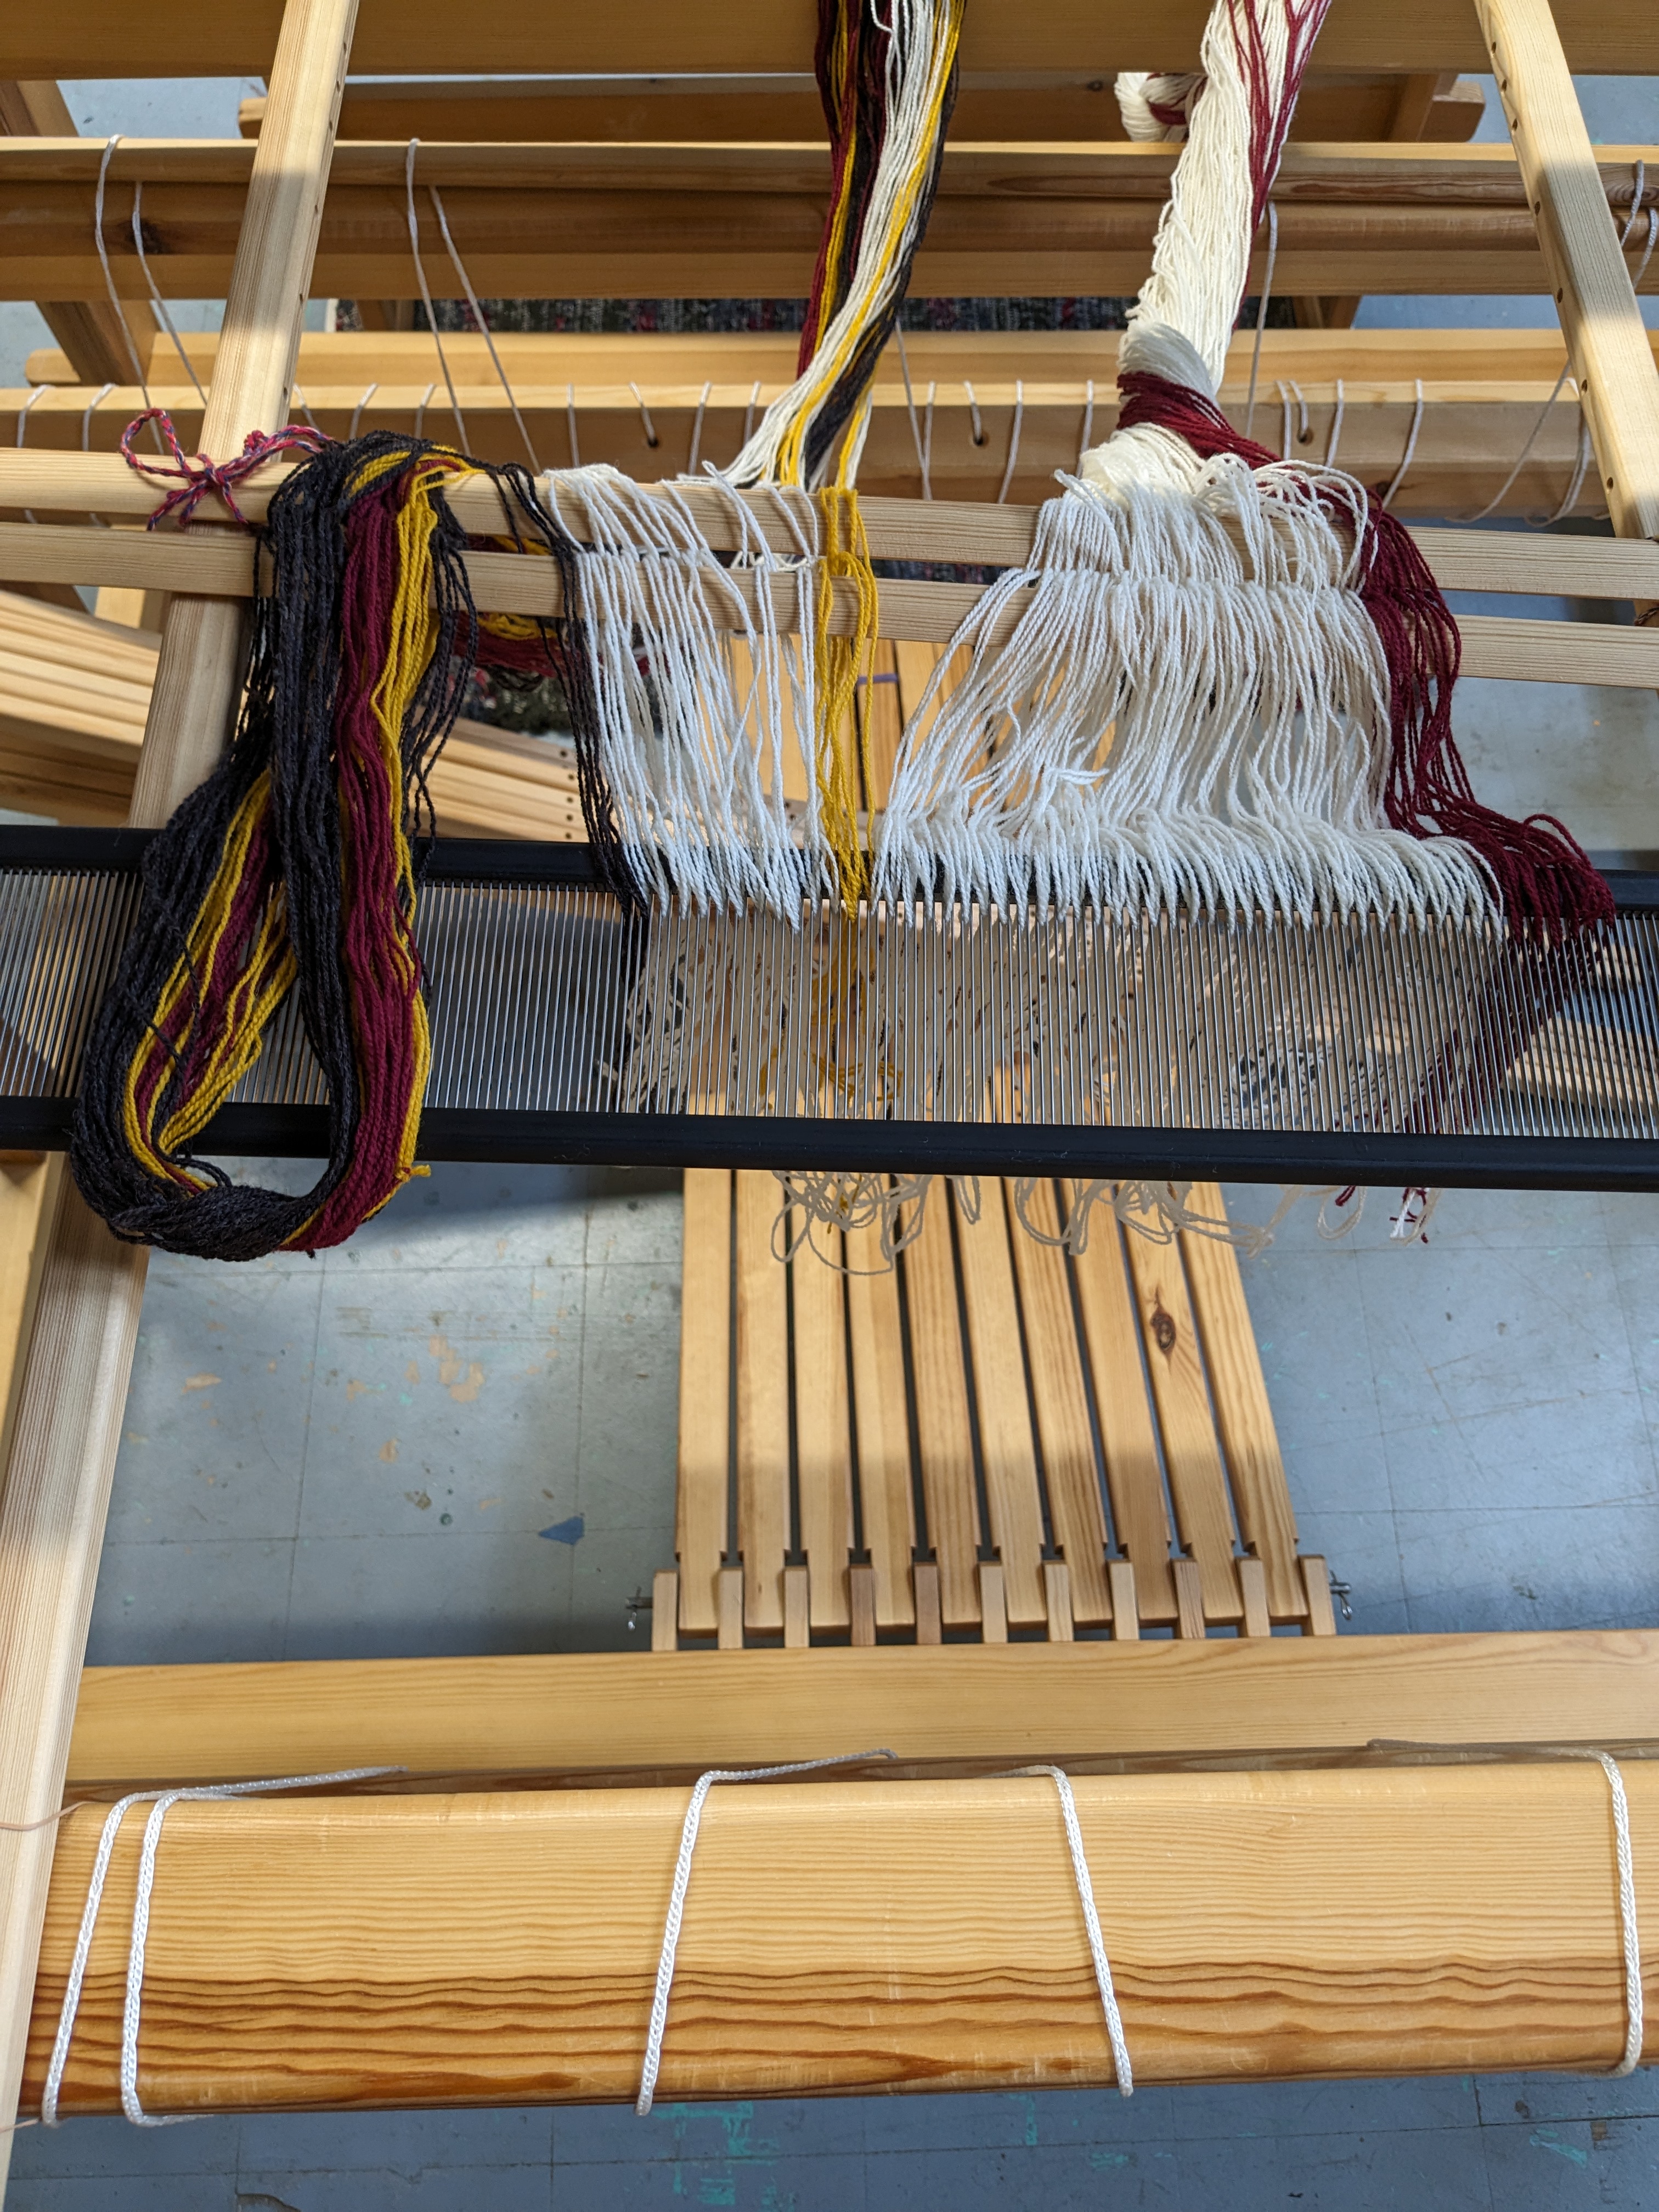
4. Pre-Sley
This is the first step that is completed at the loom. I pre-sley my threads into the reed so that they are combed and separated for beaming.
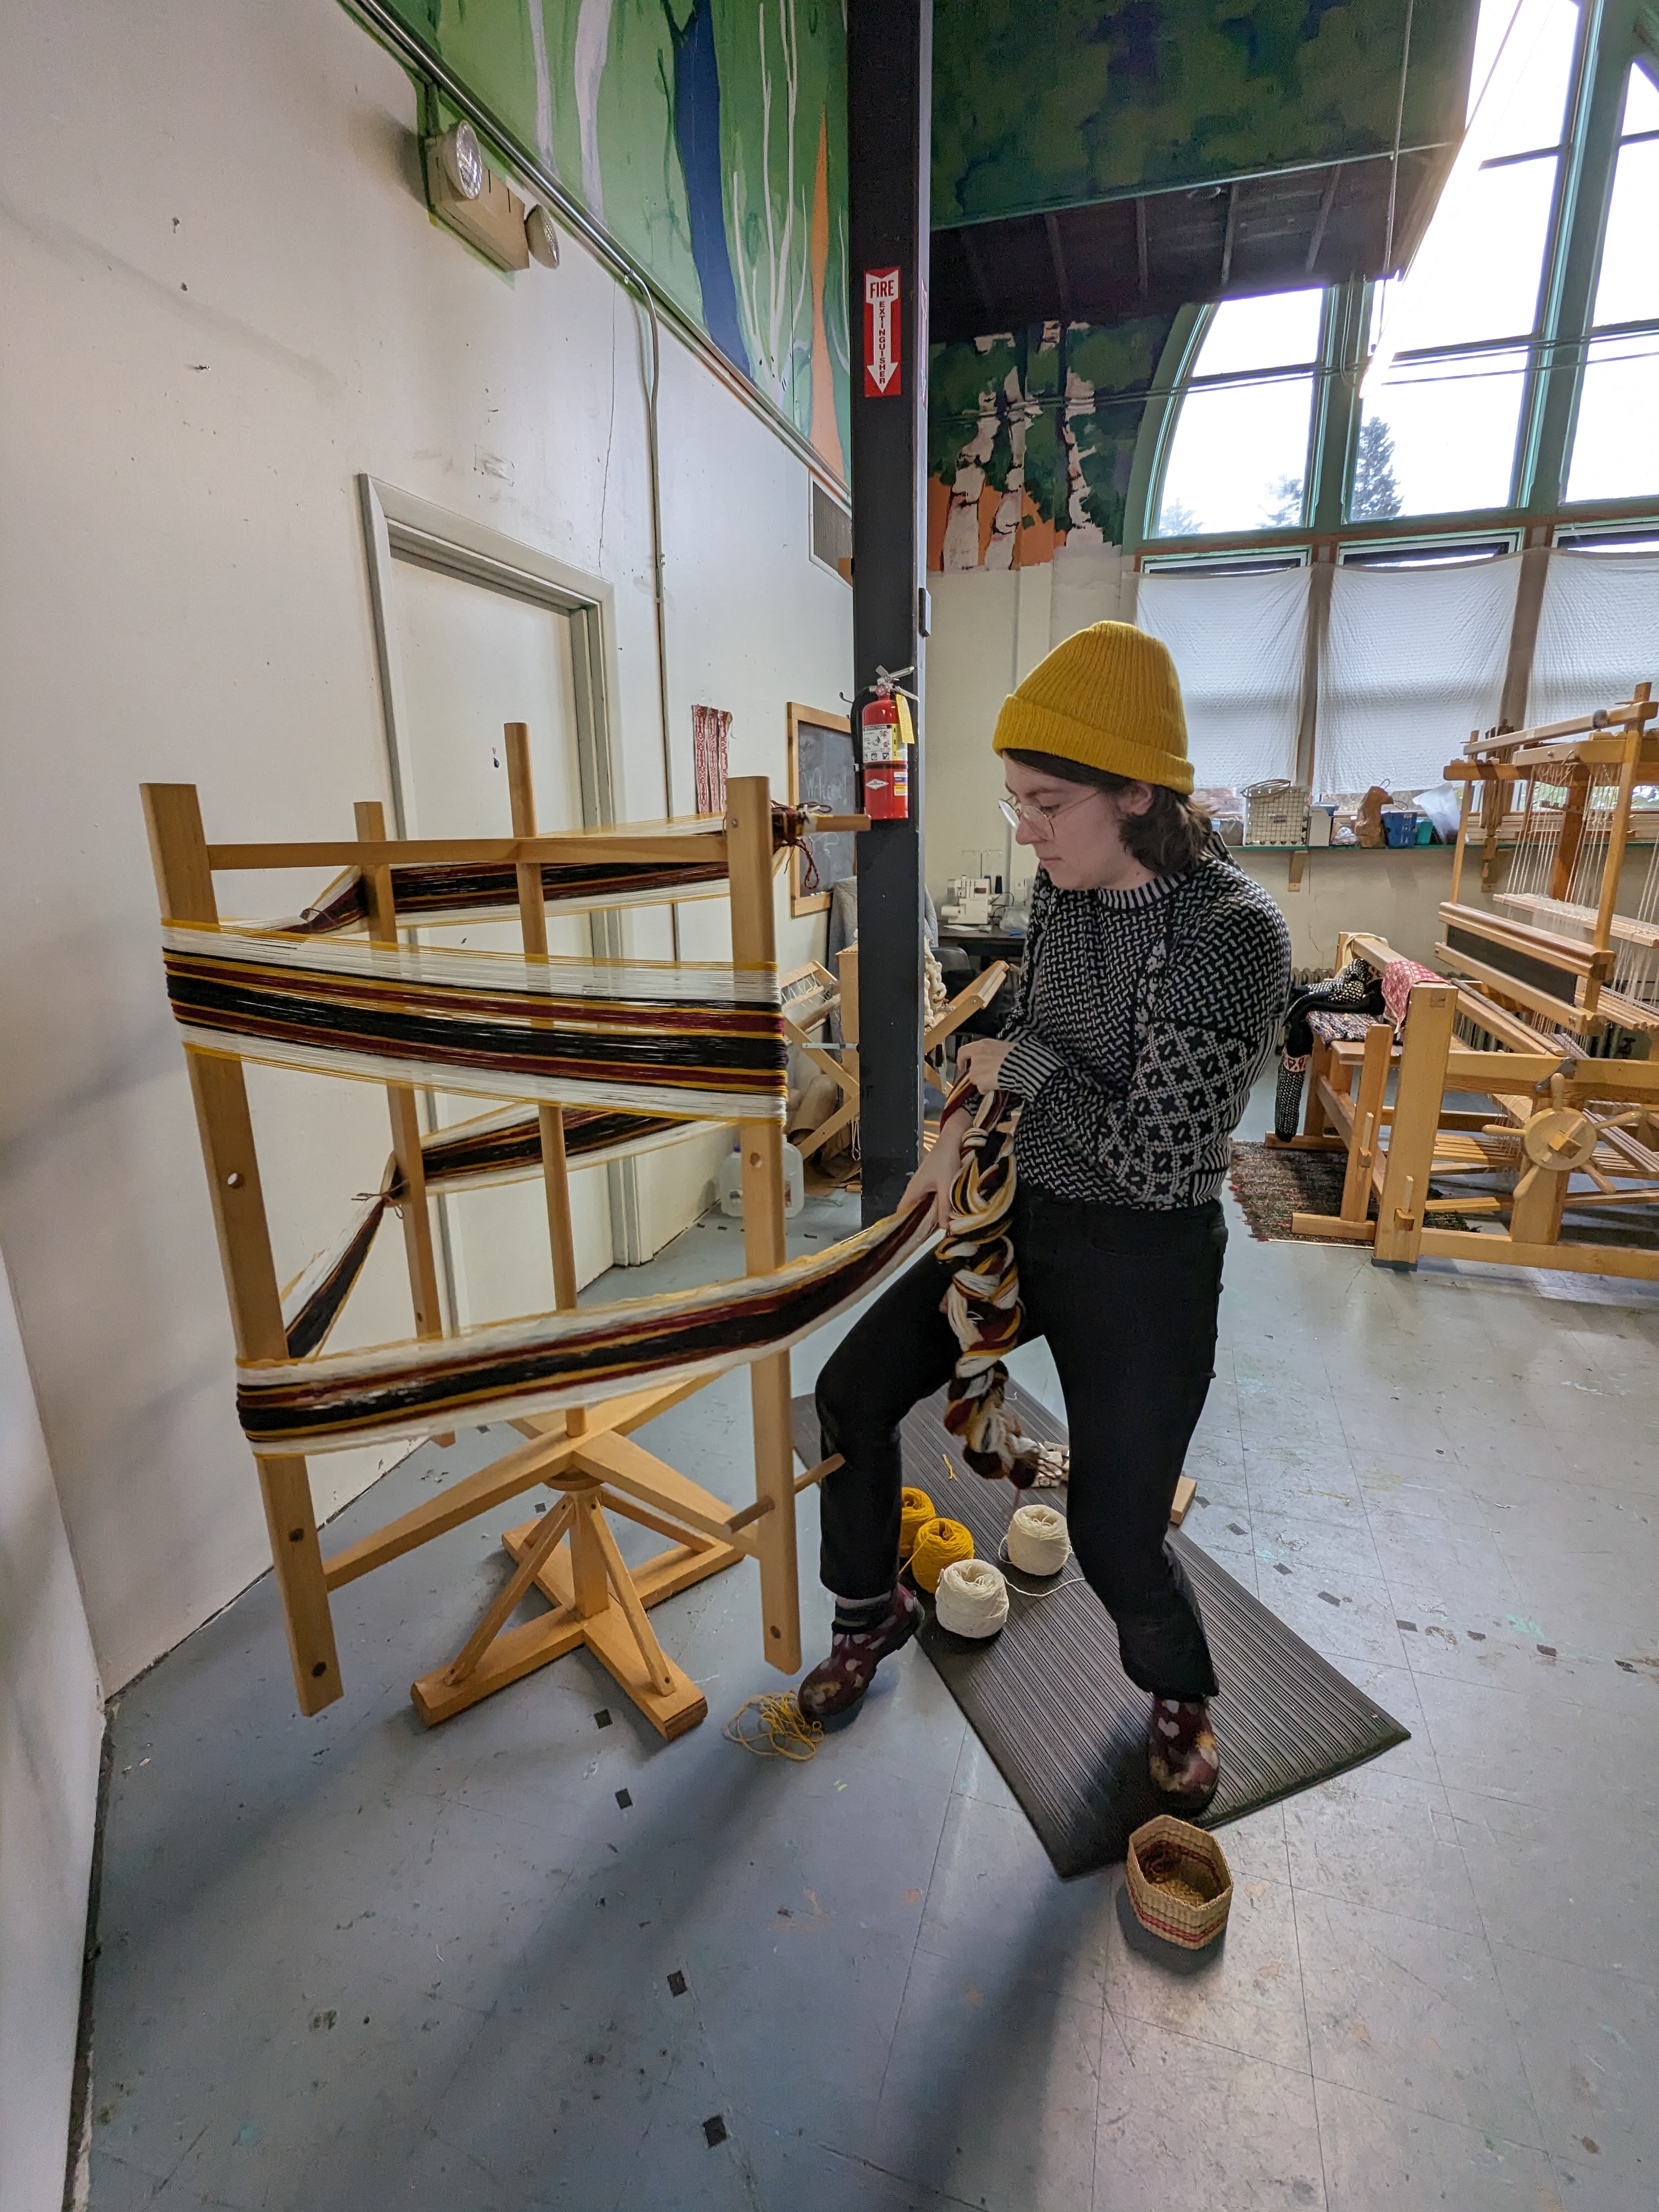
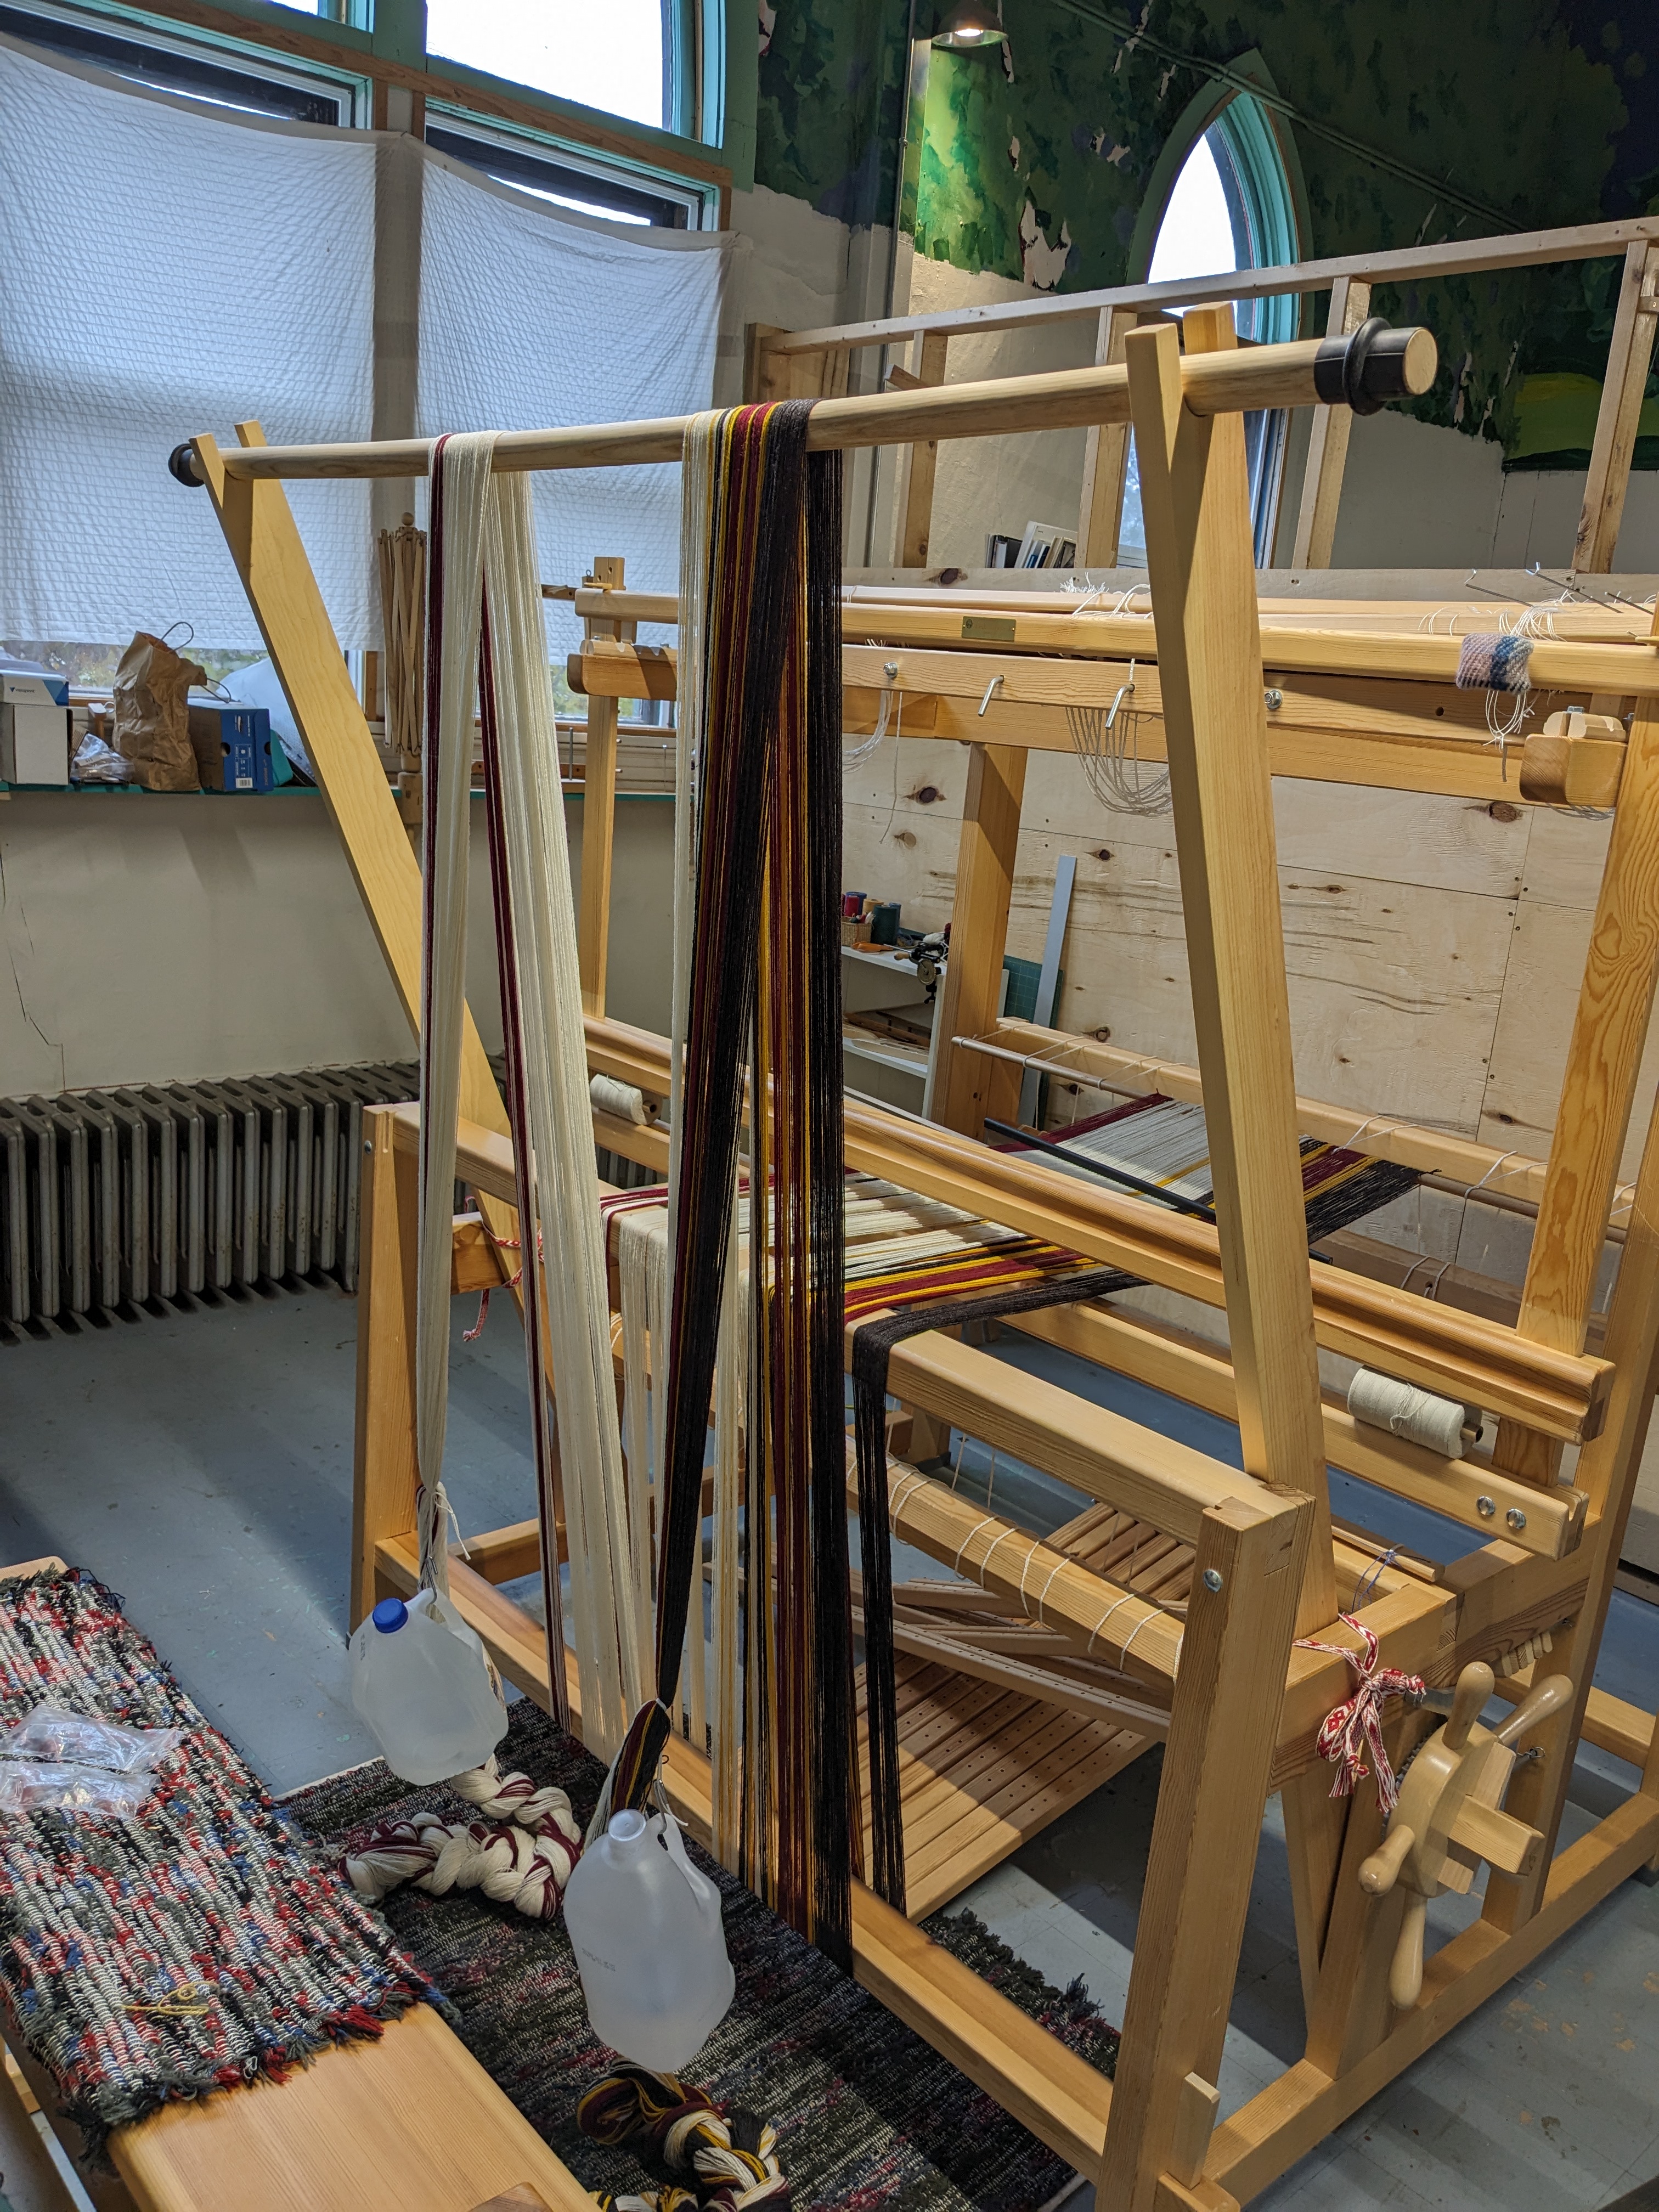
5. Beam
Beaming refers to winding the warp onto the warp beam. To complete this step by myself I use a tool called a warping trapeze to hold tension on my warp while I crank on. The layers of warp yarn are separated by warp sticks so that good tension is maintained.
6. Thread
This step is one of the most time-consuming steps. Every individual warp end must be threaded through a heddle on the correct shaft according to the draft. The amount of time this takes depends on the number of warp ends and the complexity of the draft.
7. Sley
After threading, the warp ends are sleyed through the reed again. The reed will separate the threads and beat the weft into place when weaving.
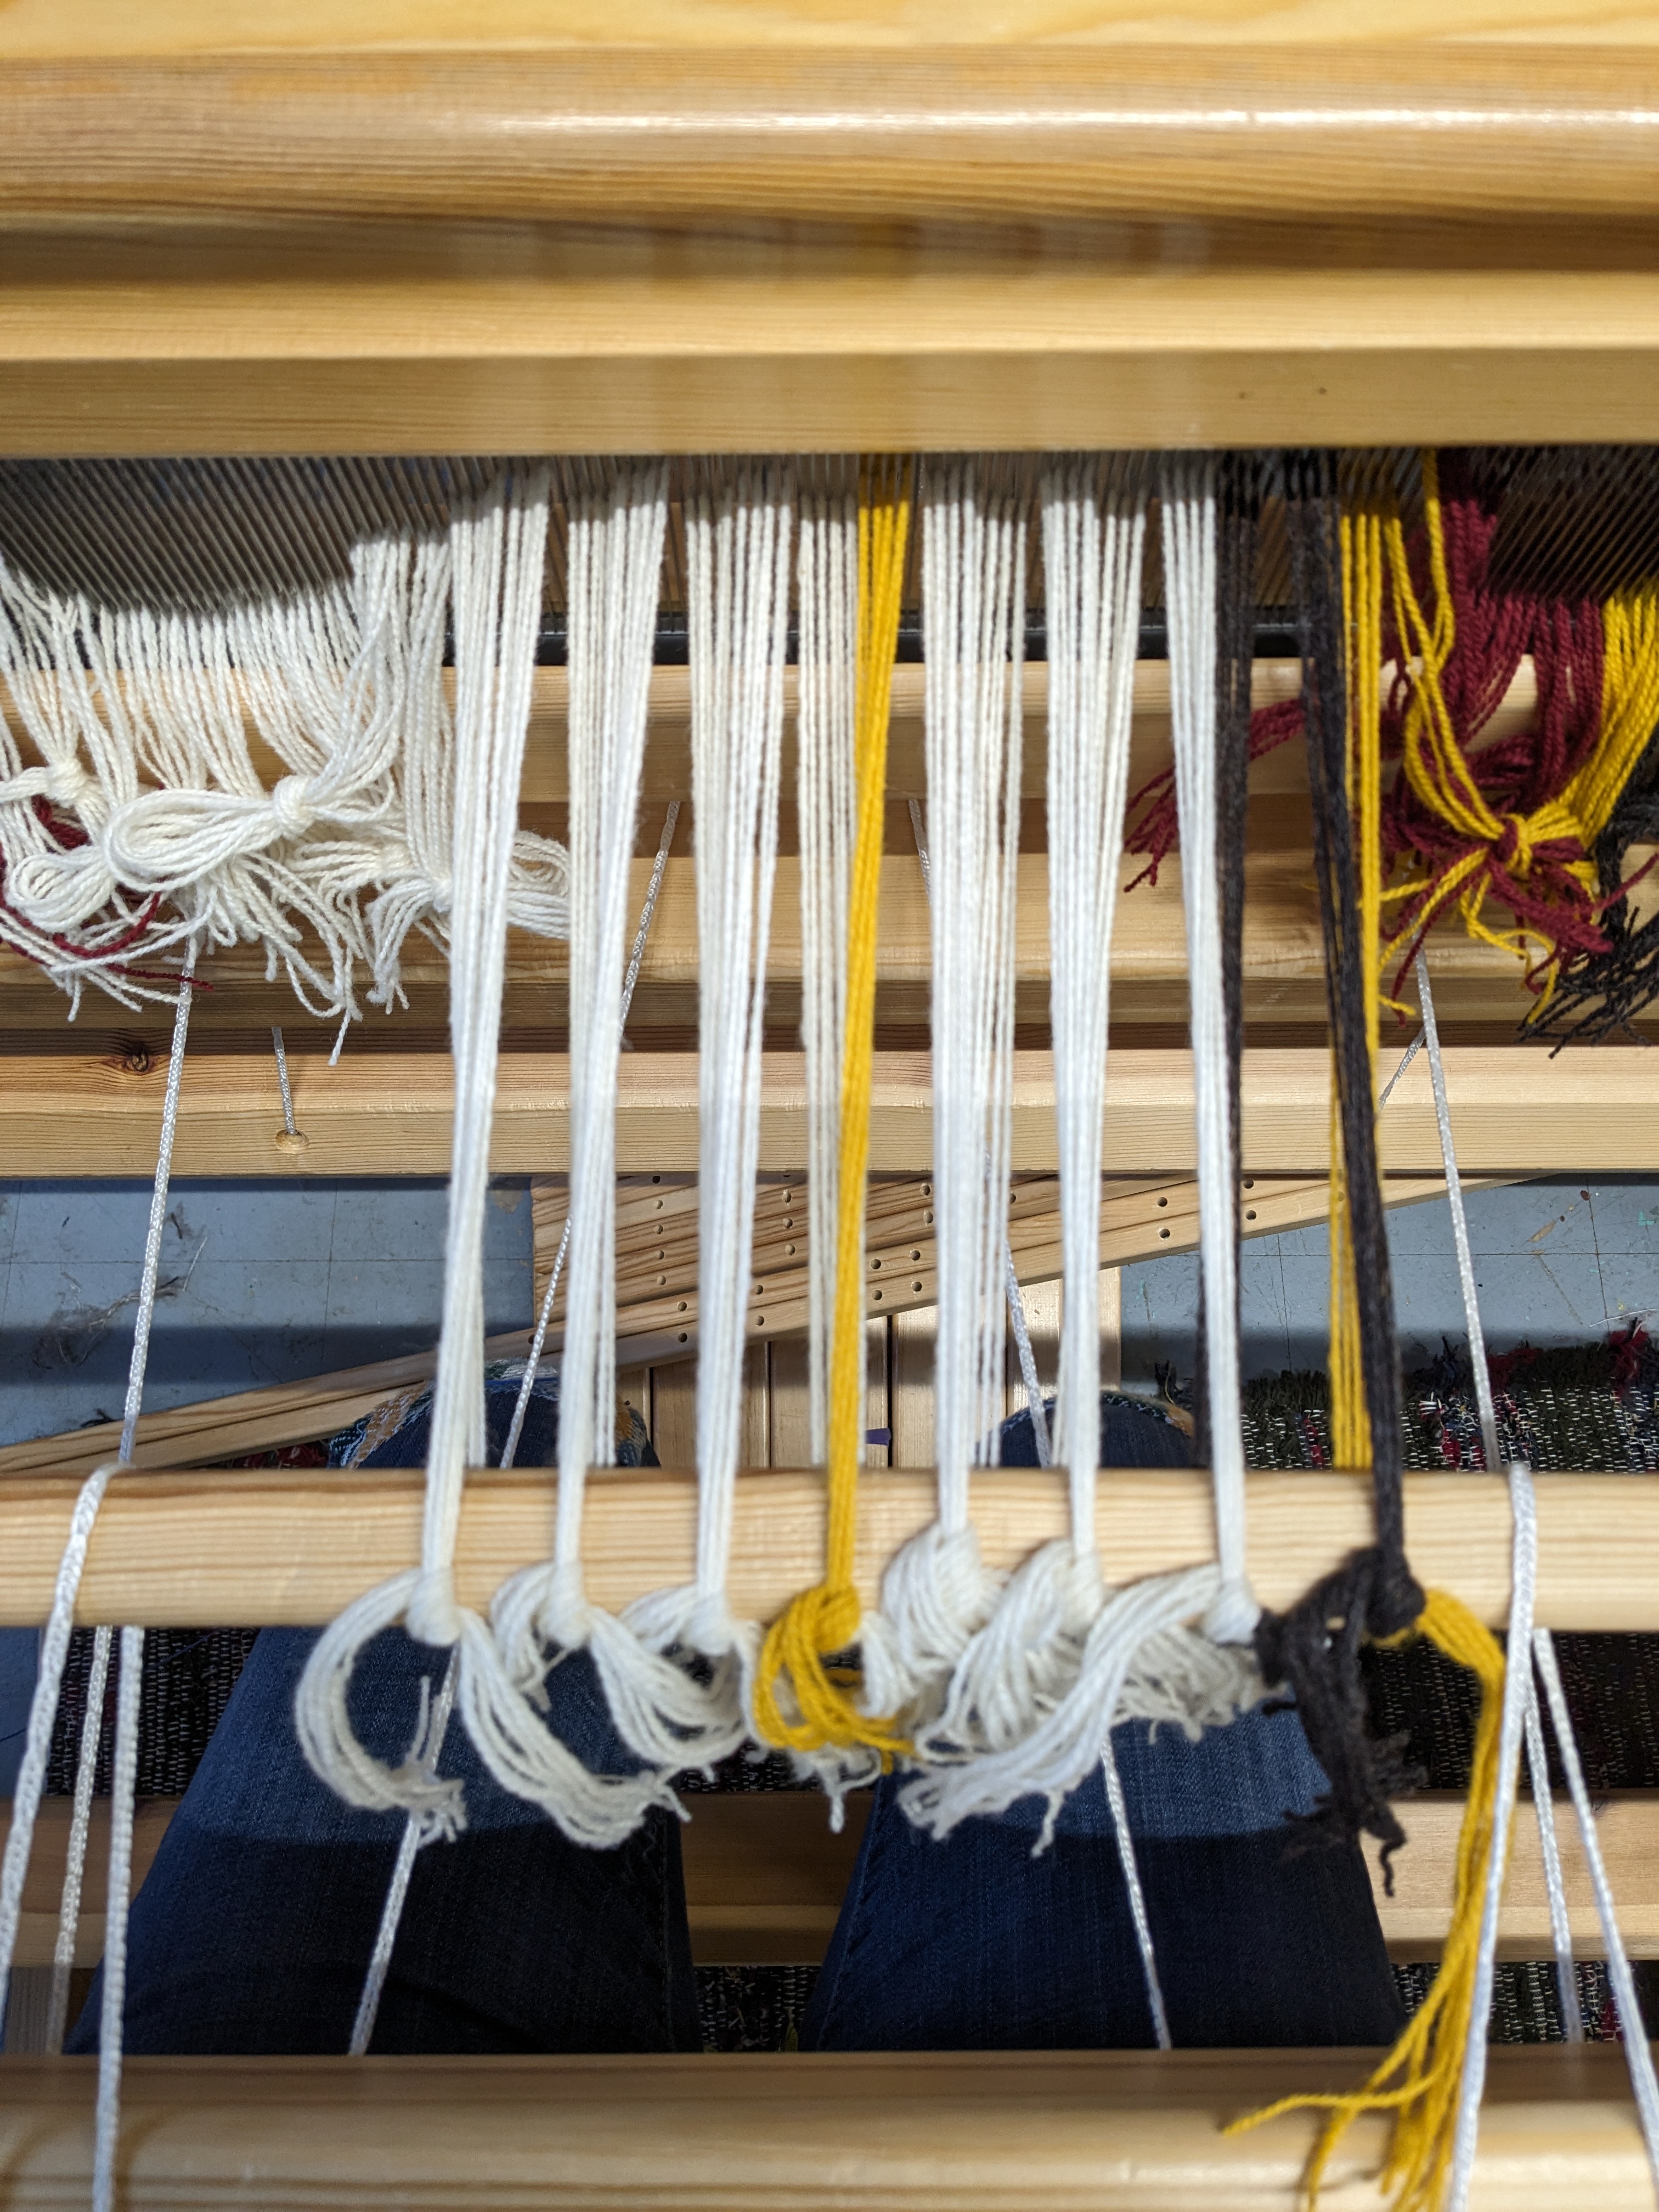
8. Tie-On
The warp ends are separated into sections of about one inch and tied onto the tie-on bar. They are pulled taut and checked to make sure that tension is uniform.
9. Tie-Up
The tie-up is what controls which shafts are raised and lowered when a treadle is pressed. Think of this step as “programming the loom.” Texsolv cords are used to tie the shafts to the lamms, and then the lamms to the treadles. This is definitely the most back-breaking step as I usually complete it from inside the loom!
.jpg)
And now you are ready to weave! Dressing the loom, of course, has several smaller tasks baked into each step; these nine bullet points are just an outline. Hopefully this blog post will give the non-weaver an insight into the process.