Traditional Crafts
Woodblock Printmaking
Course Overview
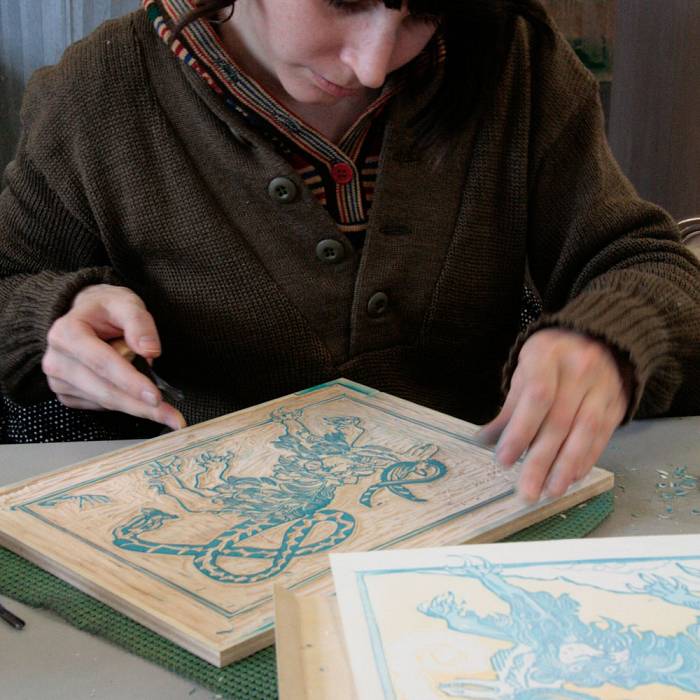
Students will investigate the methods of relief woodblock printmaking in this introduction to the basics of creating a multicolor woodblock print. Techniques covered include transfer, carving, reduction, and multi-block methods, simplifying the world of layers, reverse imagery, registration, and printing. Also included are guided discussions on imagery, abstraction, and conceptual intent. A collaboration between the Art Colony and North House Folk School, this course allows students to experience two unique Grand Marais cultural institutions. On day one, students begin their work in the North House woodshop. Days two and three take place in the Art Colony’s professional printmaking studio, where students will use a Takach printing press.
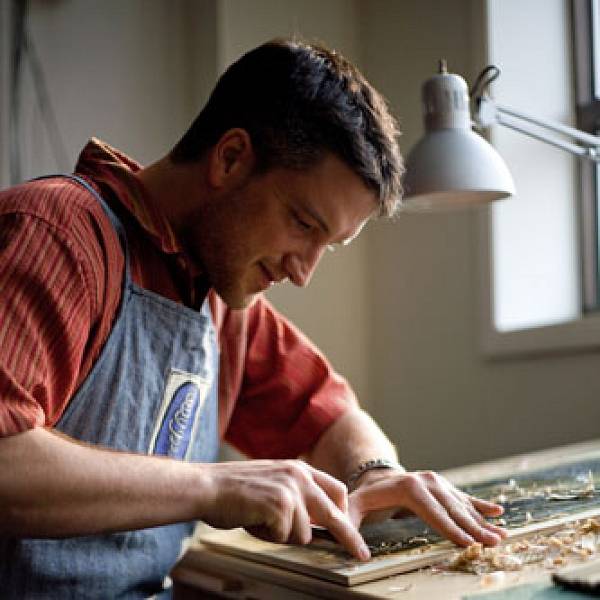
The first day of this course will deal with imagery, layout and design, and carving. There will be an initial introduction to the course and the steps of the complete process. Participants will discuss composition and subject matter. The individual project will be shaped depending on experience level, and the complexity of the print will be based on one’s individual abilities. Carving techniques will be taught, and students will be shown examples of various textures, incorporating wood grain, and safety.
The second day will cover inking and printing. As the first stages of the blocks are being carved, students will be shown techniques for inking and the workings of the printing press. A general overview of ink mixing, characteristics, and application will be discussed. After the first color is printed, the students will be shown techniques for transferring the image to another block for separate color groups. Students will also be given the option to stick with one block and complete the print as a “reduction” print.
On the third day, the class will continue printing and carving. Emphasis will be placed on the techniques for combining all the elements together, especially registration techniques, and carving negative space. The participants will continue with printing, and at the end of class there will be a brief discussion and kind “critique” of the finished work.
Dates
Course Details
Required
You will need the following tools for this class:
1. Carving tools - 1/16" (@1.5 mm), 1/8" (@3 mm), 1/4" (@4.5 mm), 3/8" (@6 mm) U-Gouges. In addition, 1/8" (@3mm) V-Gouge is recommended. Any larger U-Gouges or straight chisels could also come in handy.
2. Brayers - Larger brayers up to 10". One 8" and one 10" are recommended. The larger brayers are often expensive so smaller brayers may be more readily available and would be better than none. Try to avoid brayers that are made of very hard rubber or extremely soft, foamy material. The hardness should be like an eraser texture.
3. Miscellaneous - 1" ruler, triangular ruler, pencils, ultra fine point Sharpie pen, Mat knife/X-acto (I like the OLFA brand with sections of the blade that can be snapped off as the edge dulls.) 1 1/2" - 2" rectangular palette knives for mixing ink. Apron.
4. Images to inspire your print or an idea for what your subject might be.
Optional Tools
Feel free to bring your favorite tools and whatever materials you might feel appropriate for this course.
More Information
Once registered, students will receive a confirmation email with further class information. Please call us if you haven't received it within 24 hours.


